
Front Runner Rack Corrosion—The Fix—Part 2
Two years, two Central European winters, no off-road abuse worth mentioning — and the coating on my Front Runner rack is blistering off in patches. In this part, I'll replace the front crossbar with a new one.
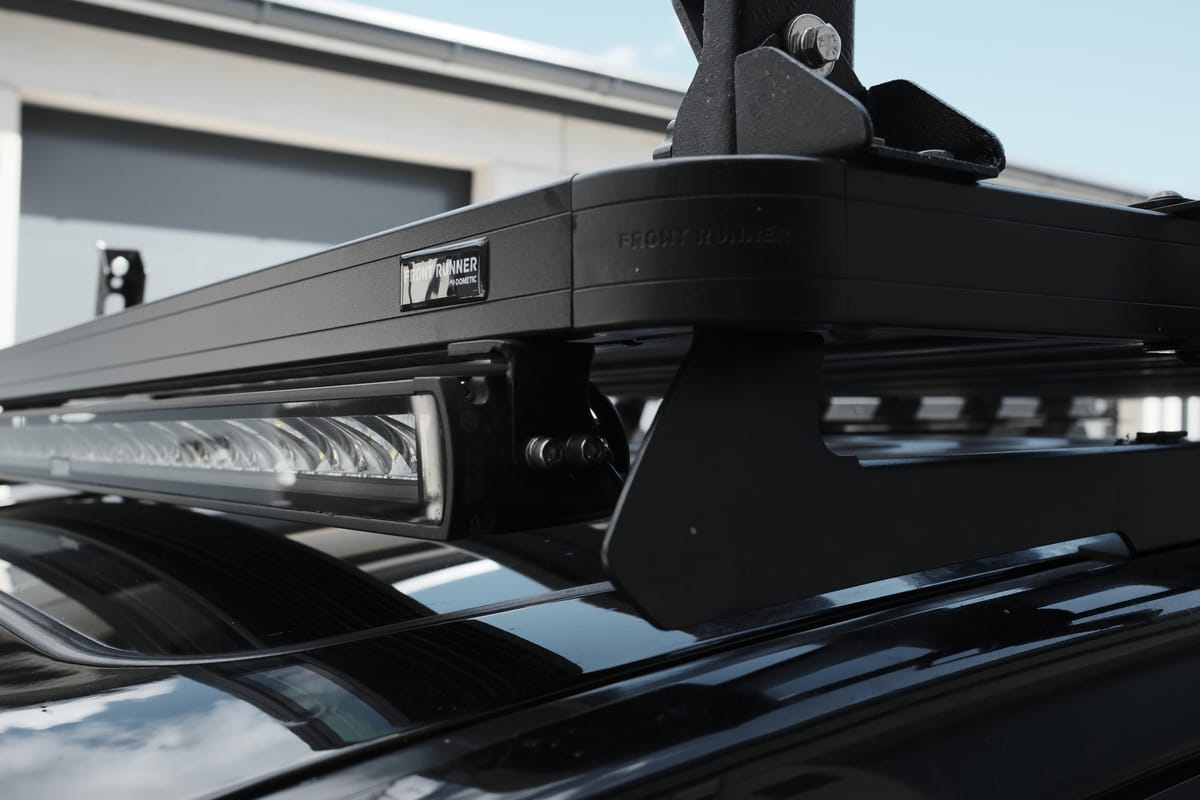
A while back, I wrote about the corrosion on my Front Runner rack. I then filed a warranty claim, and shortly afterward, Front Runner sent me a new front crossbar, including new corner brackets. I wrote in detail about the nature and cause of the corrosion in Part 1:
 Sebastian Weiß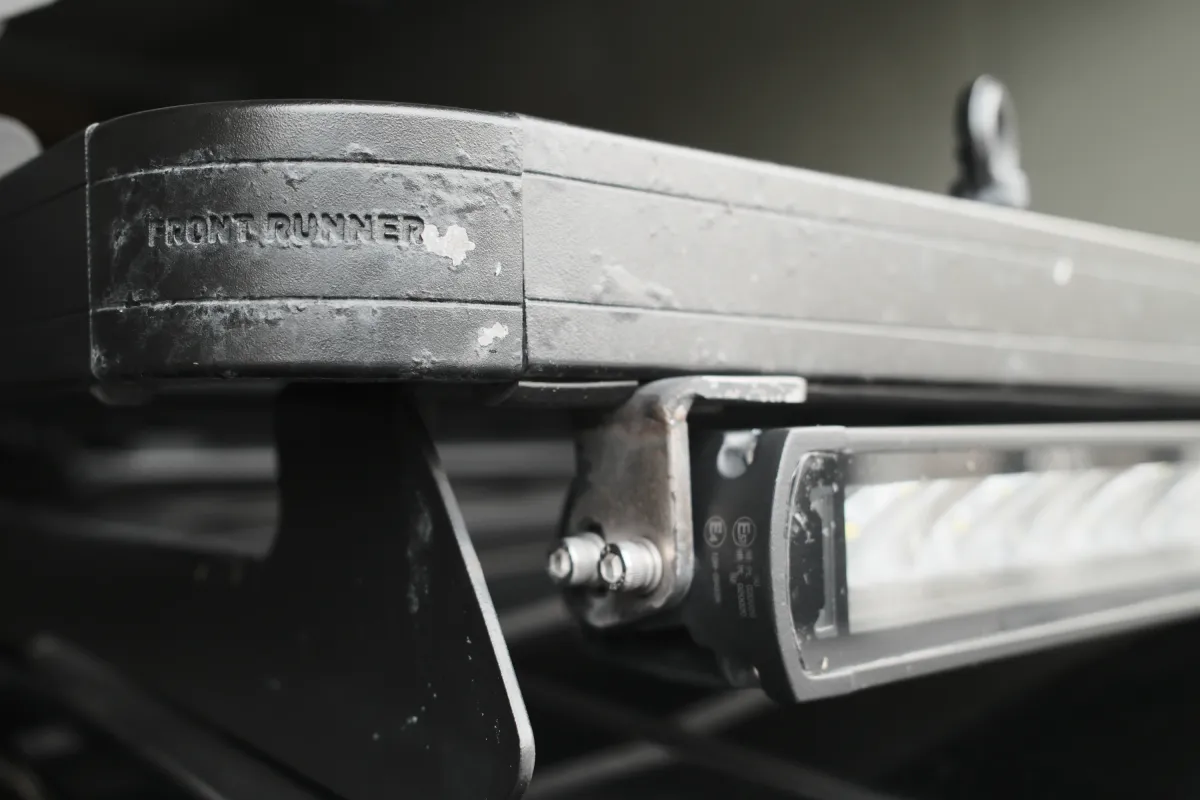
The fix involved replacing the heavily corroded front cross member and its corners. While I was at it, I repainted the stainless steel brackets—where the LED light bar is mounted—as well. I was able to replace the crossbar, remove the LED light bar, and paint the brackets for the light bar all in one day. The painting and drying take the longest here.
The Comparison: Before and After
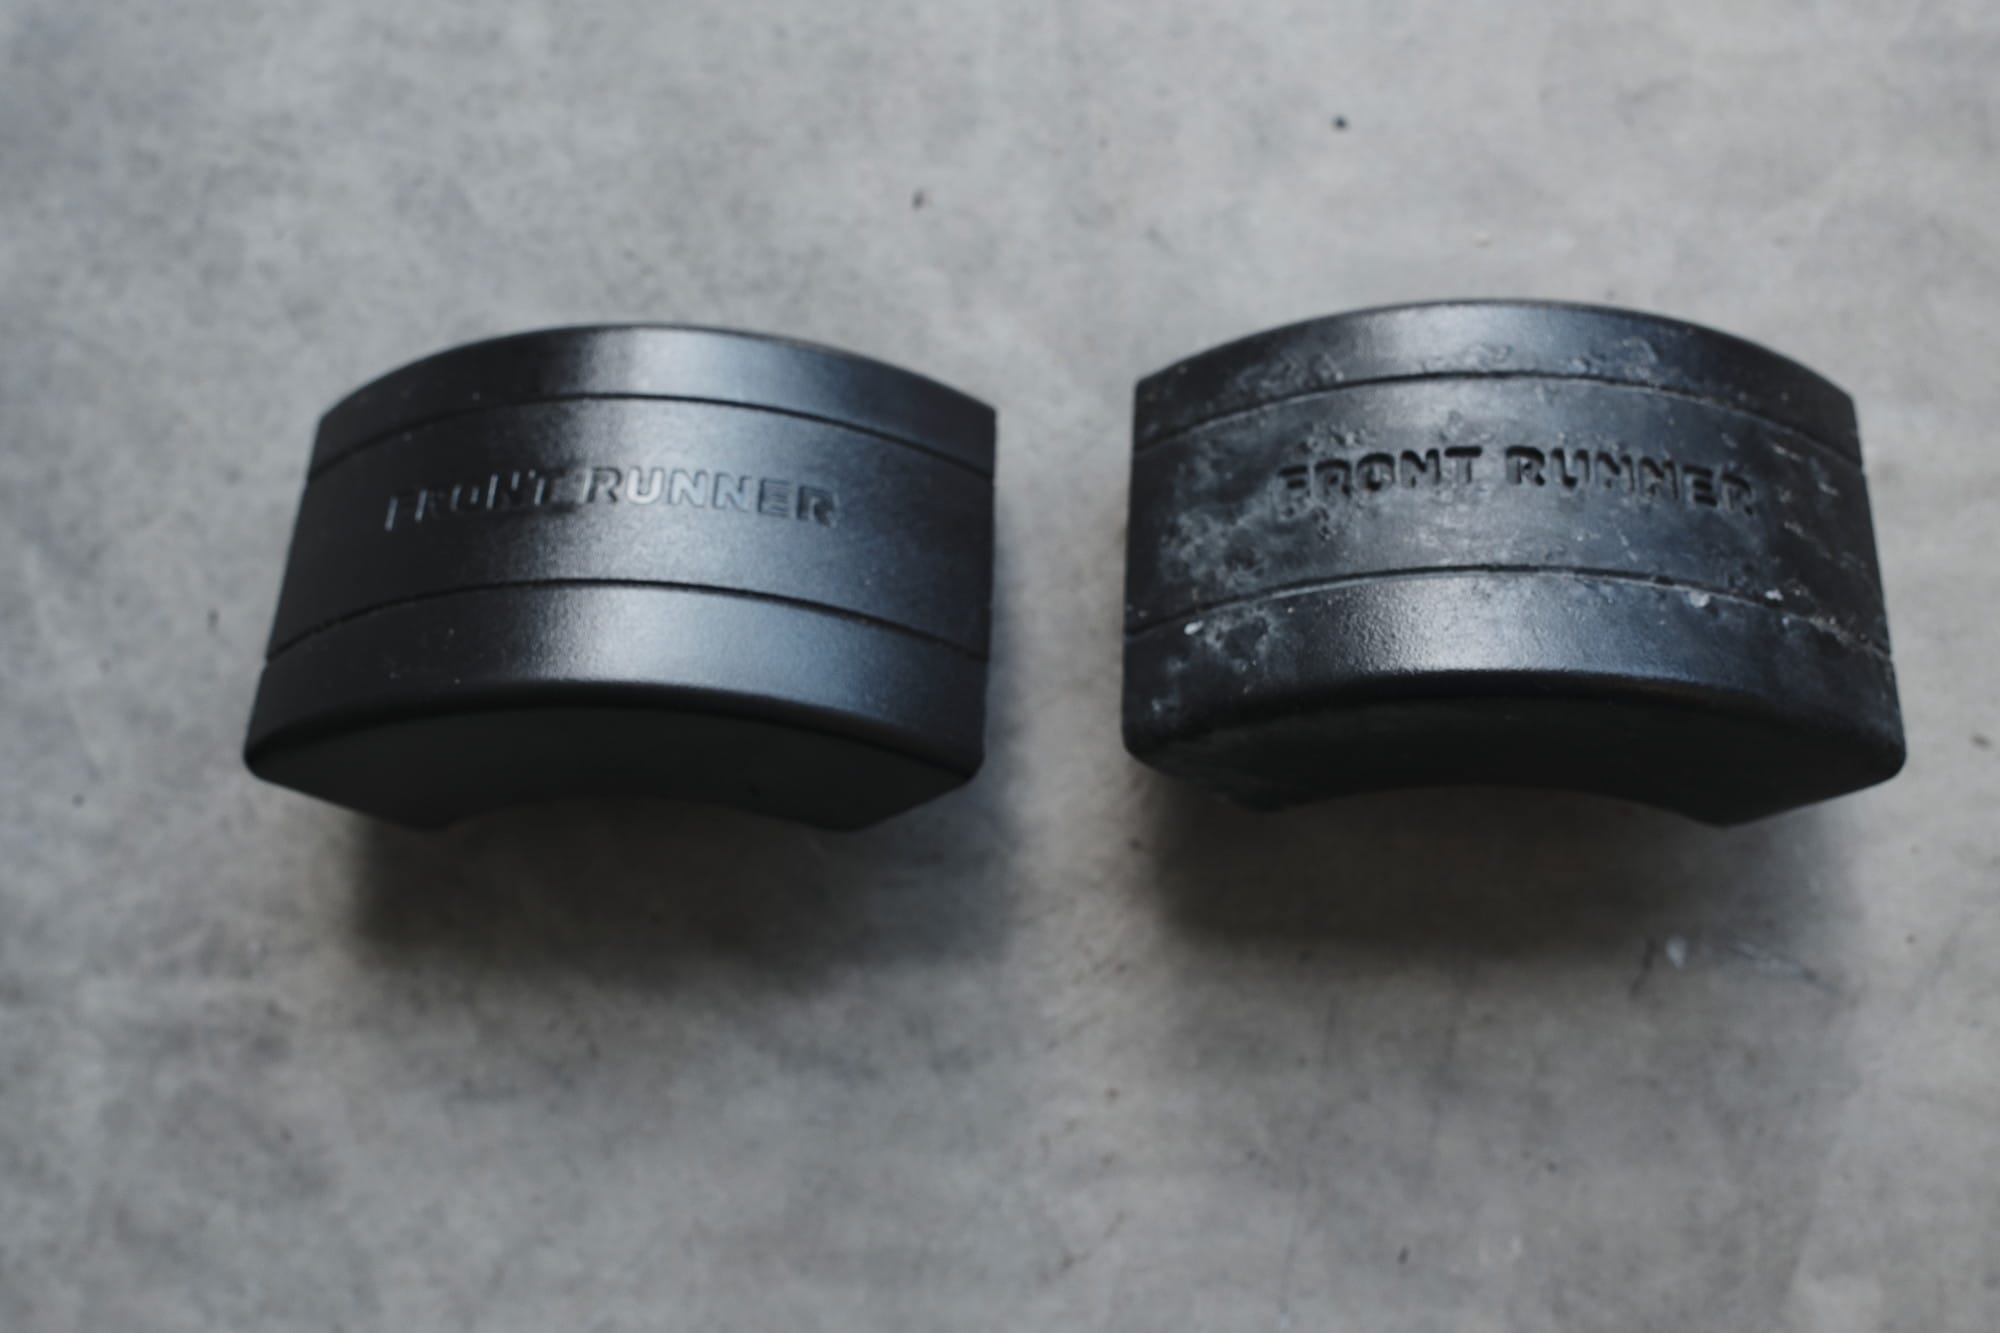
Before (left) and after (right) the replacement of the front crossbar. The corners are now made of plastic—which is fine.
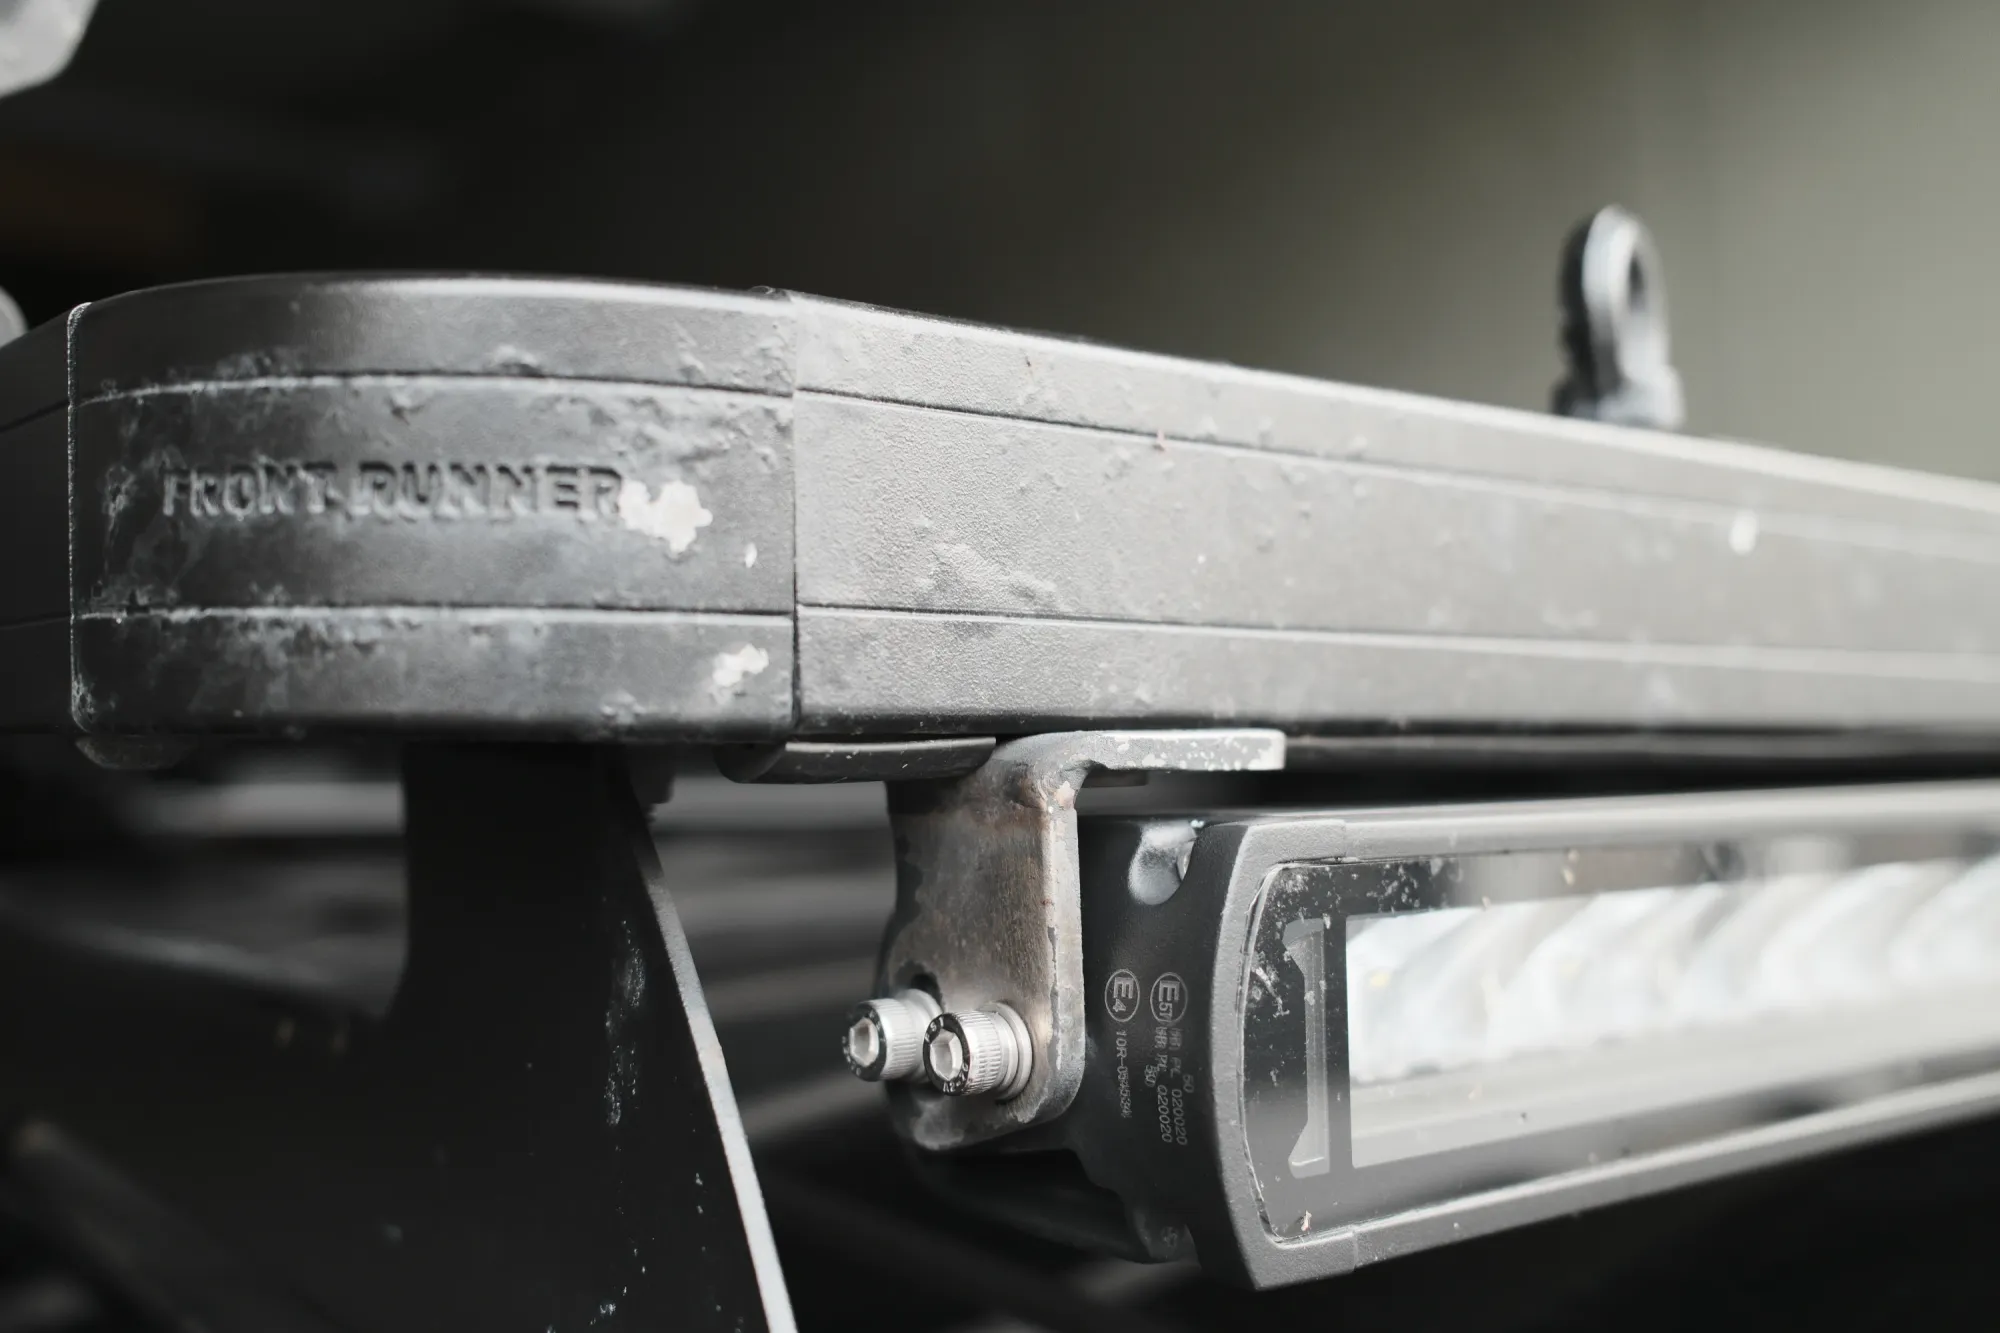
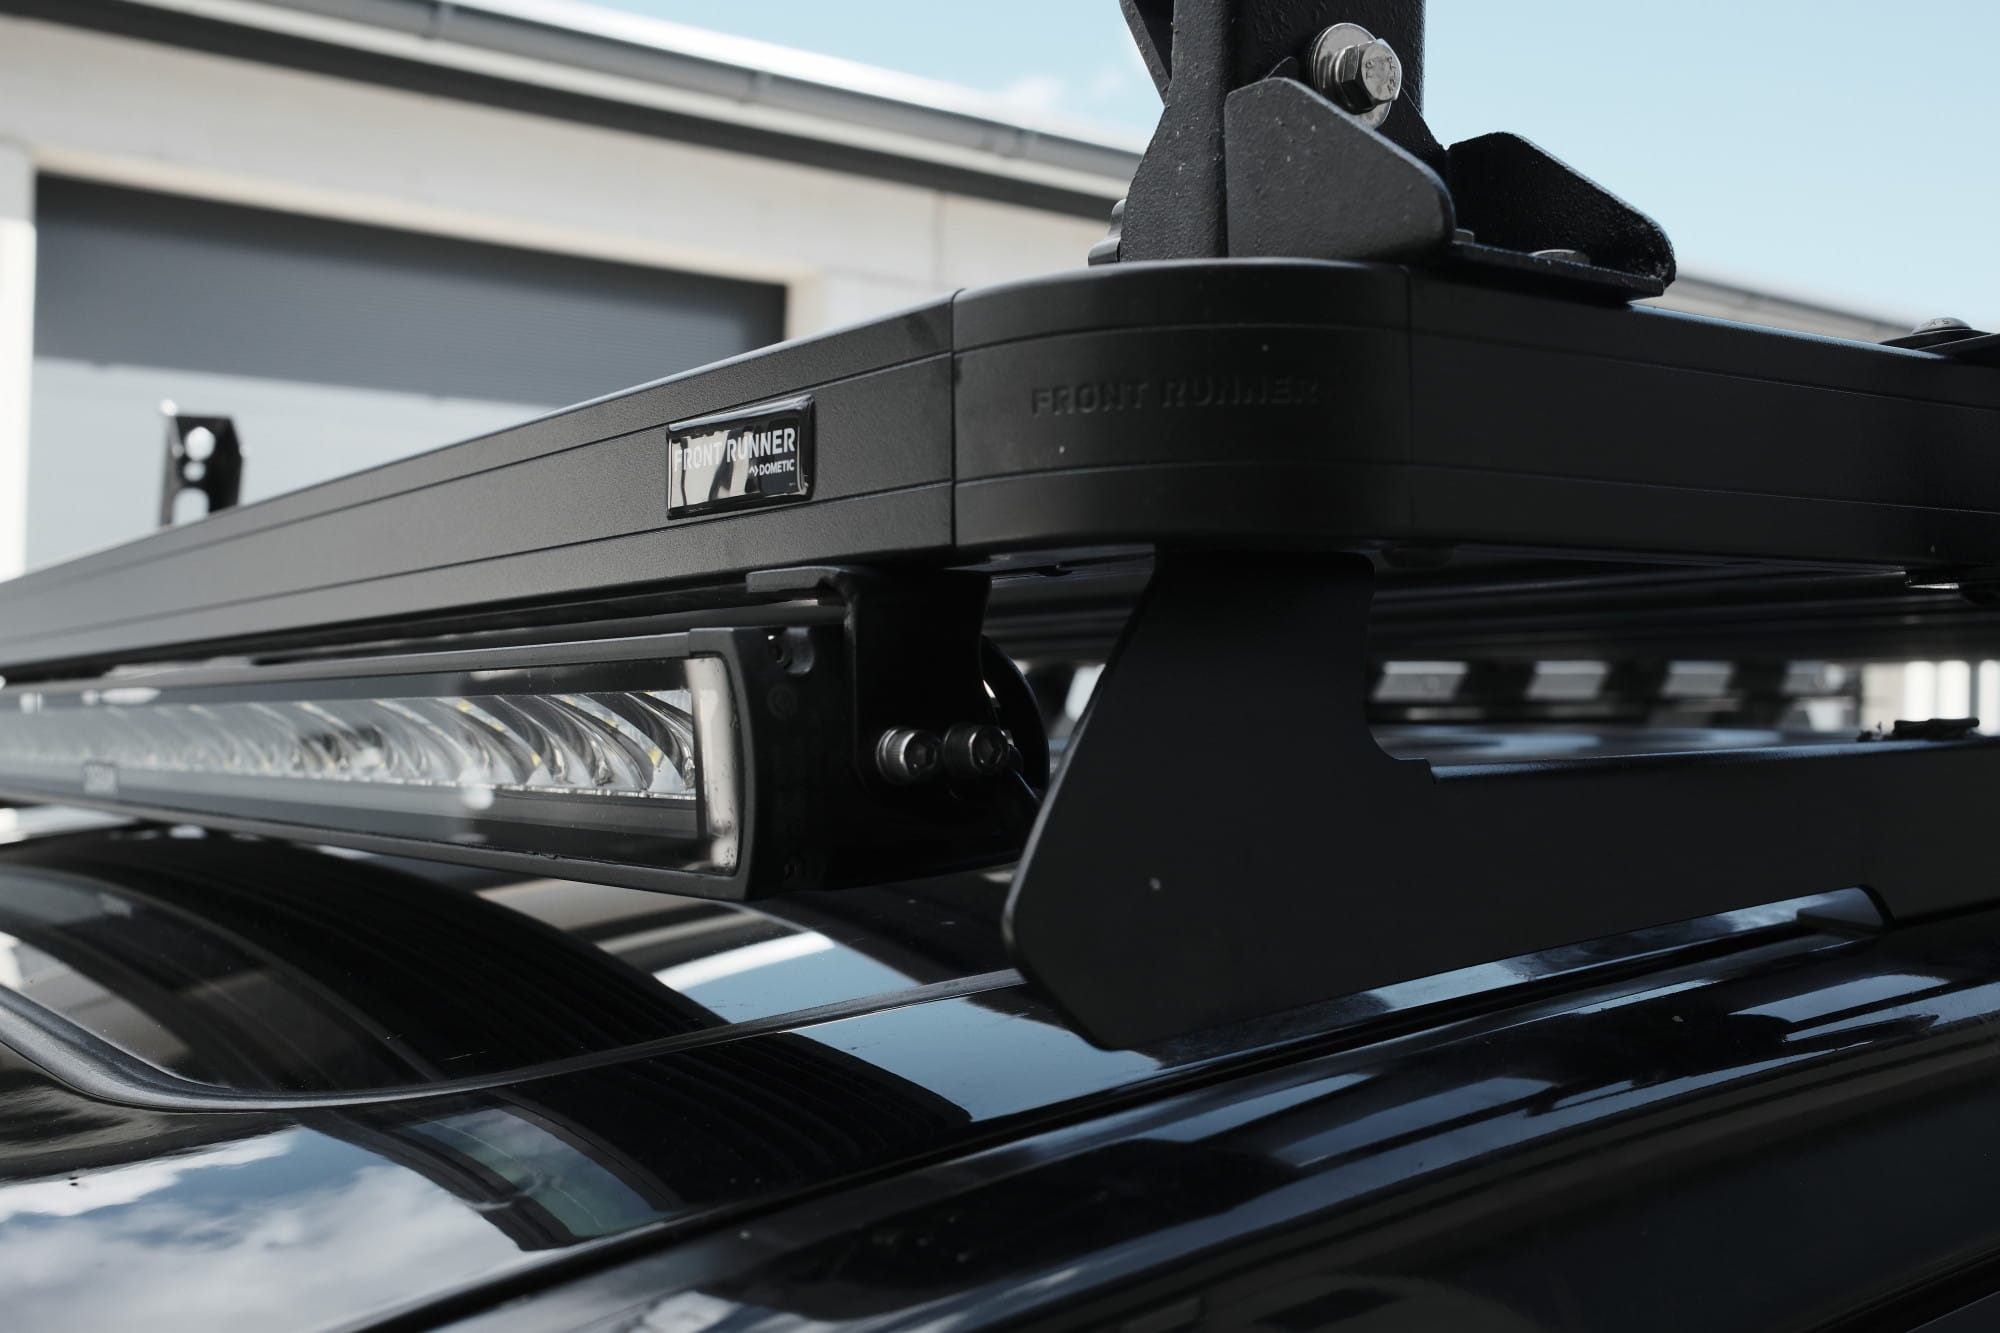
Before (left) and after (right) the replacement of the front crossbar. The corners are now made of plastic.
The Disassembly
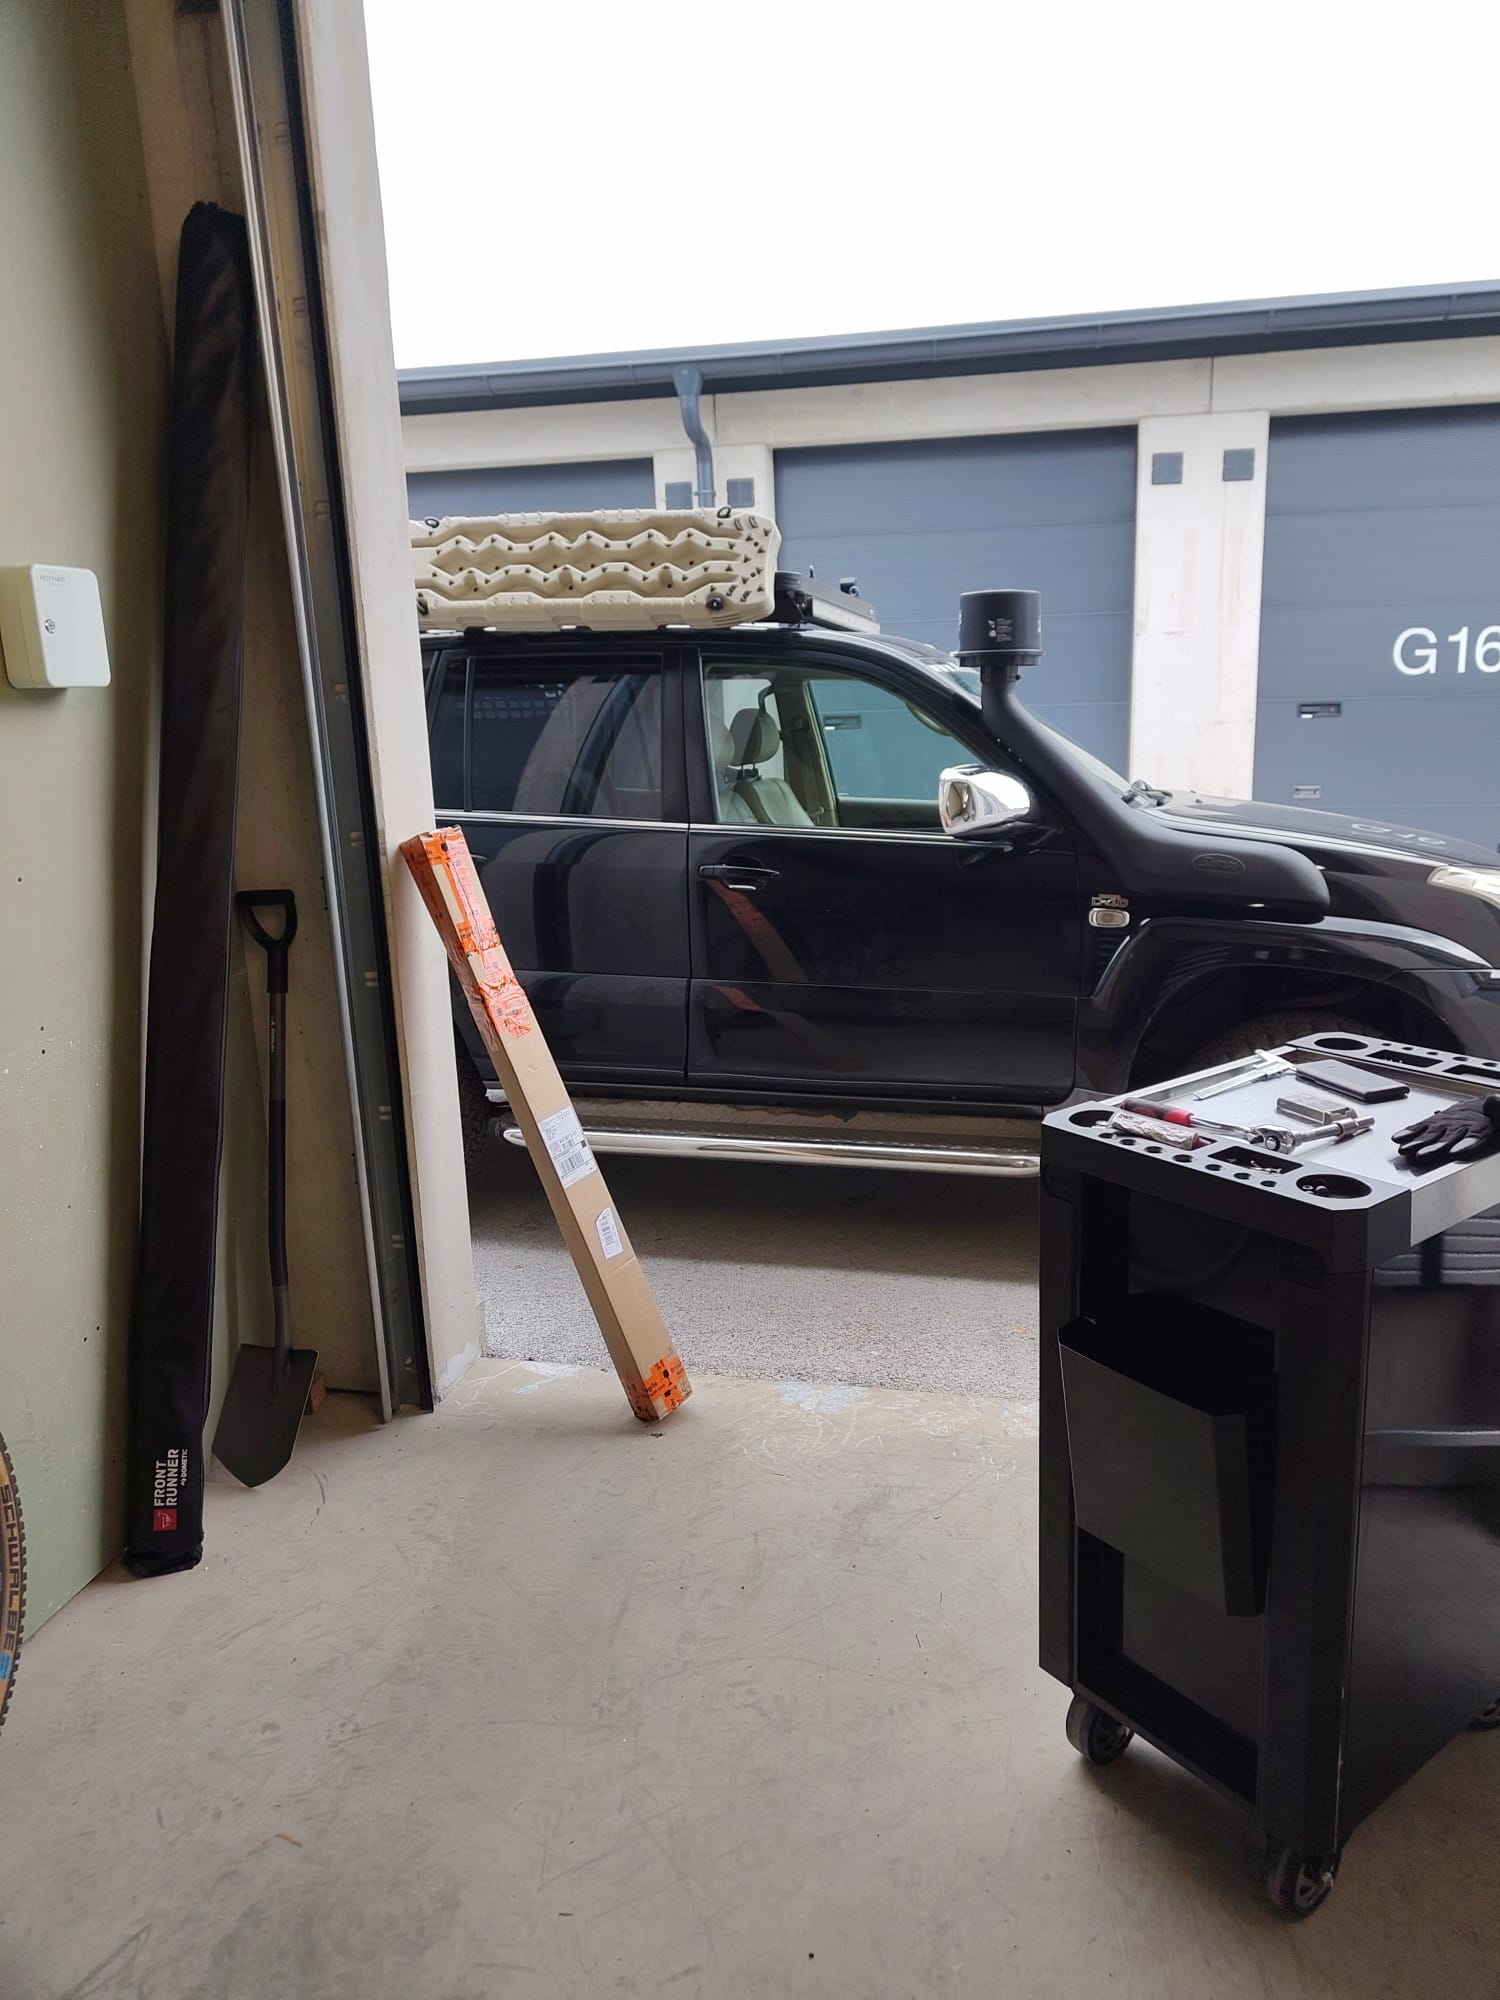
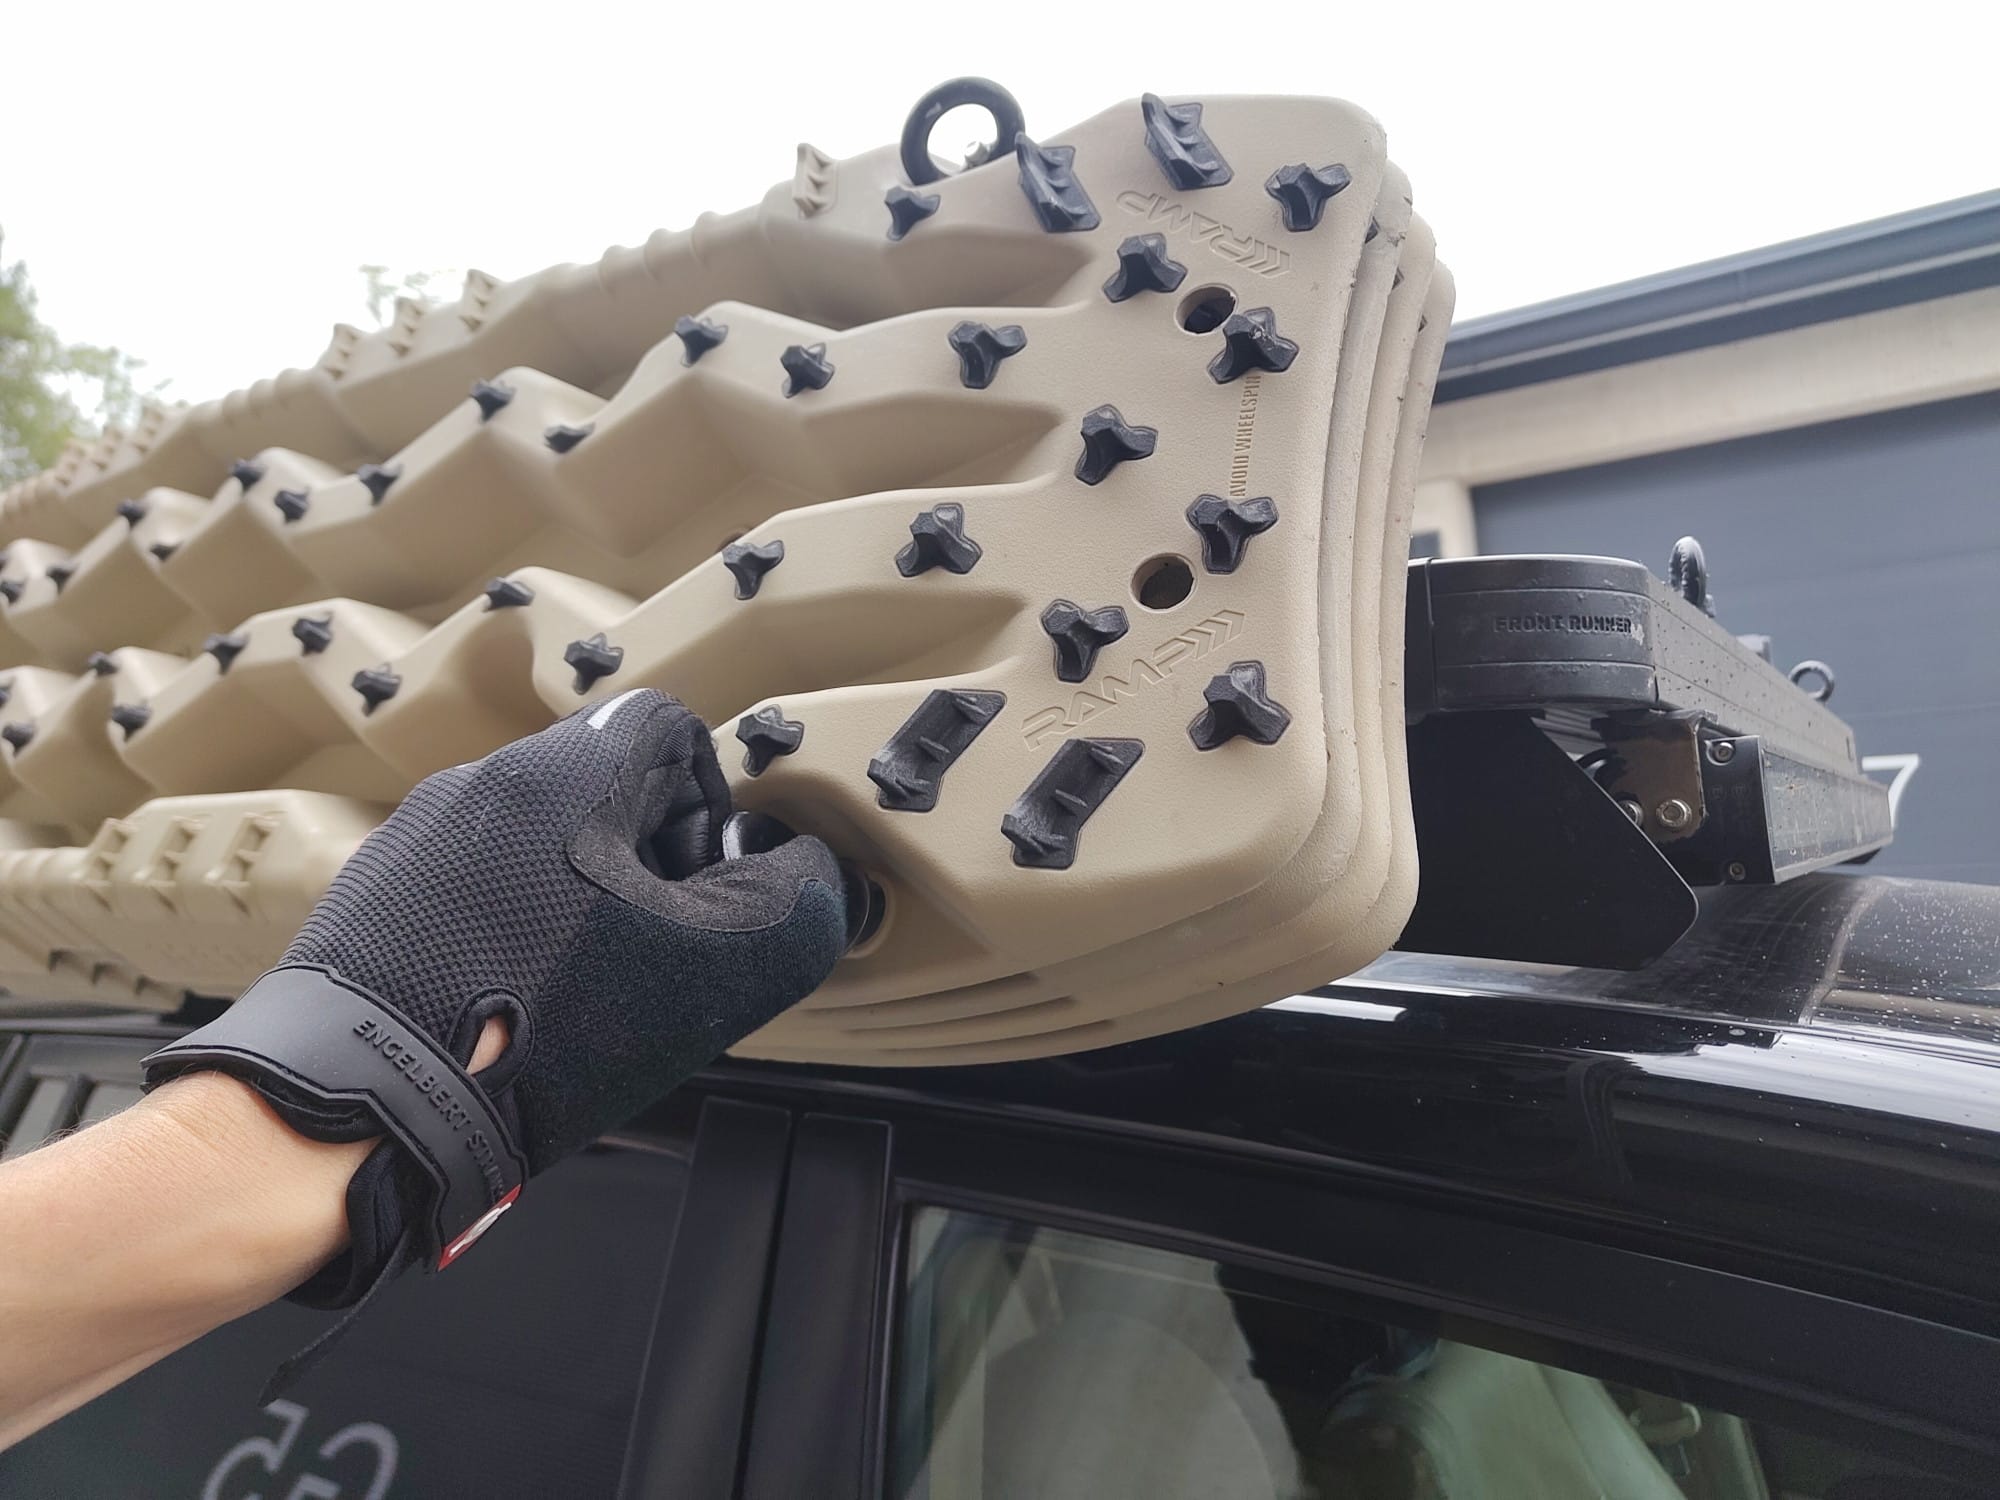
First, I removed the recovery boards and the awning. Then I had full access to all the screws.
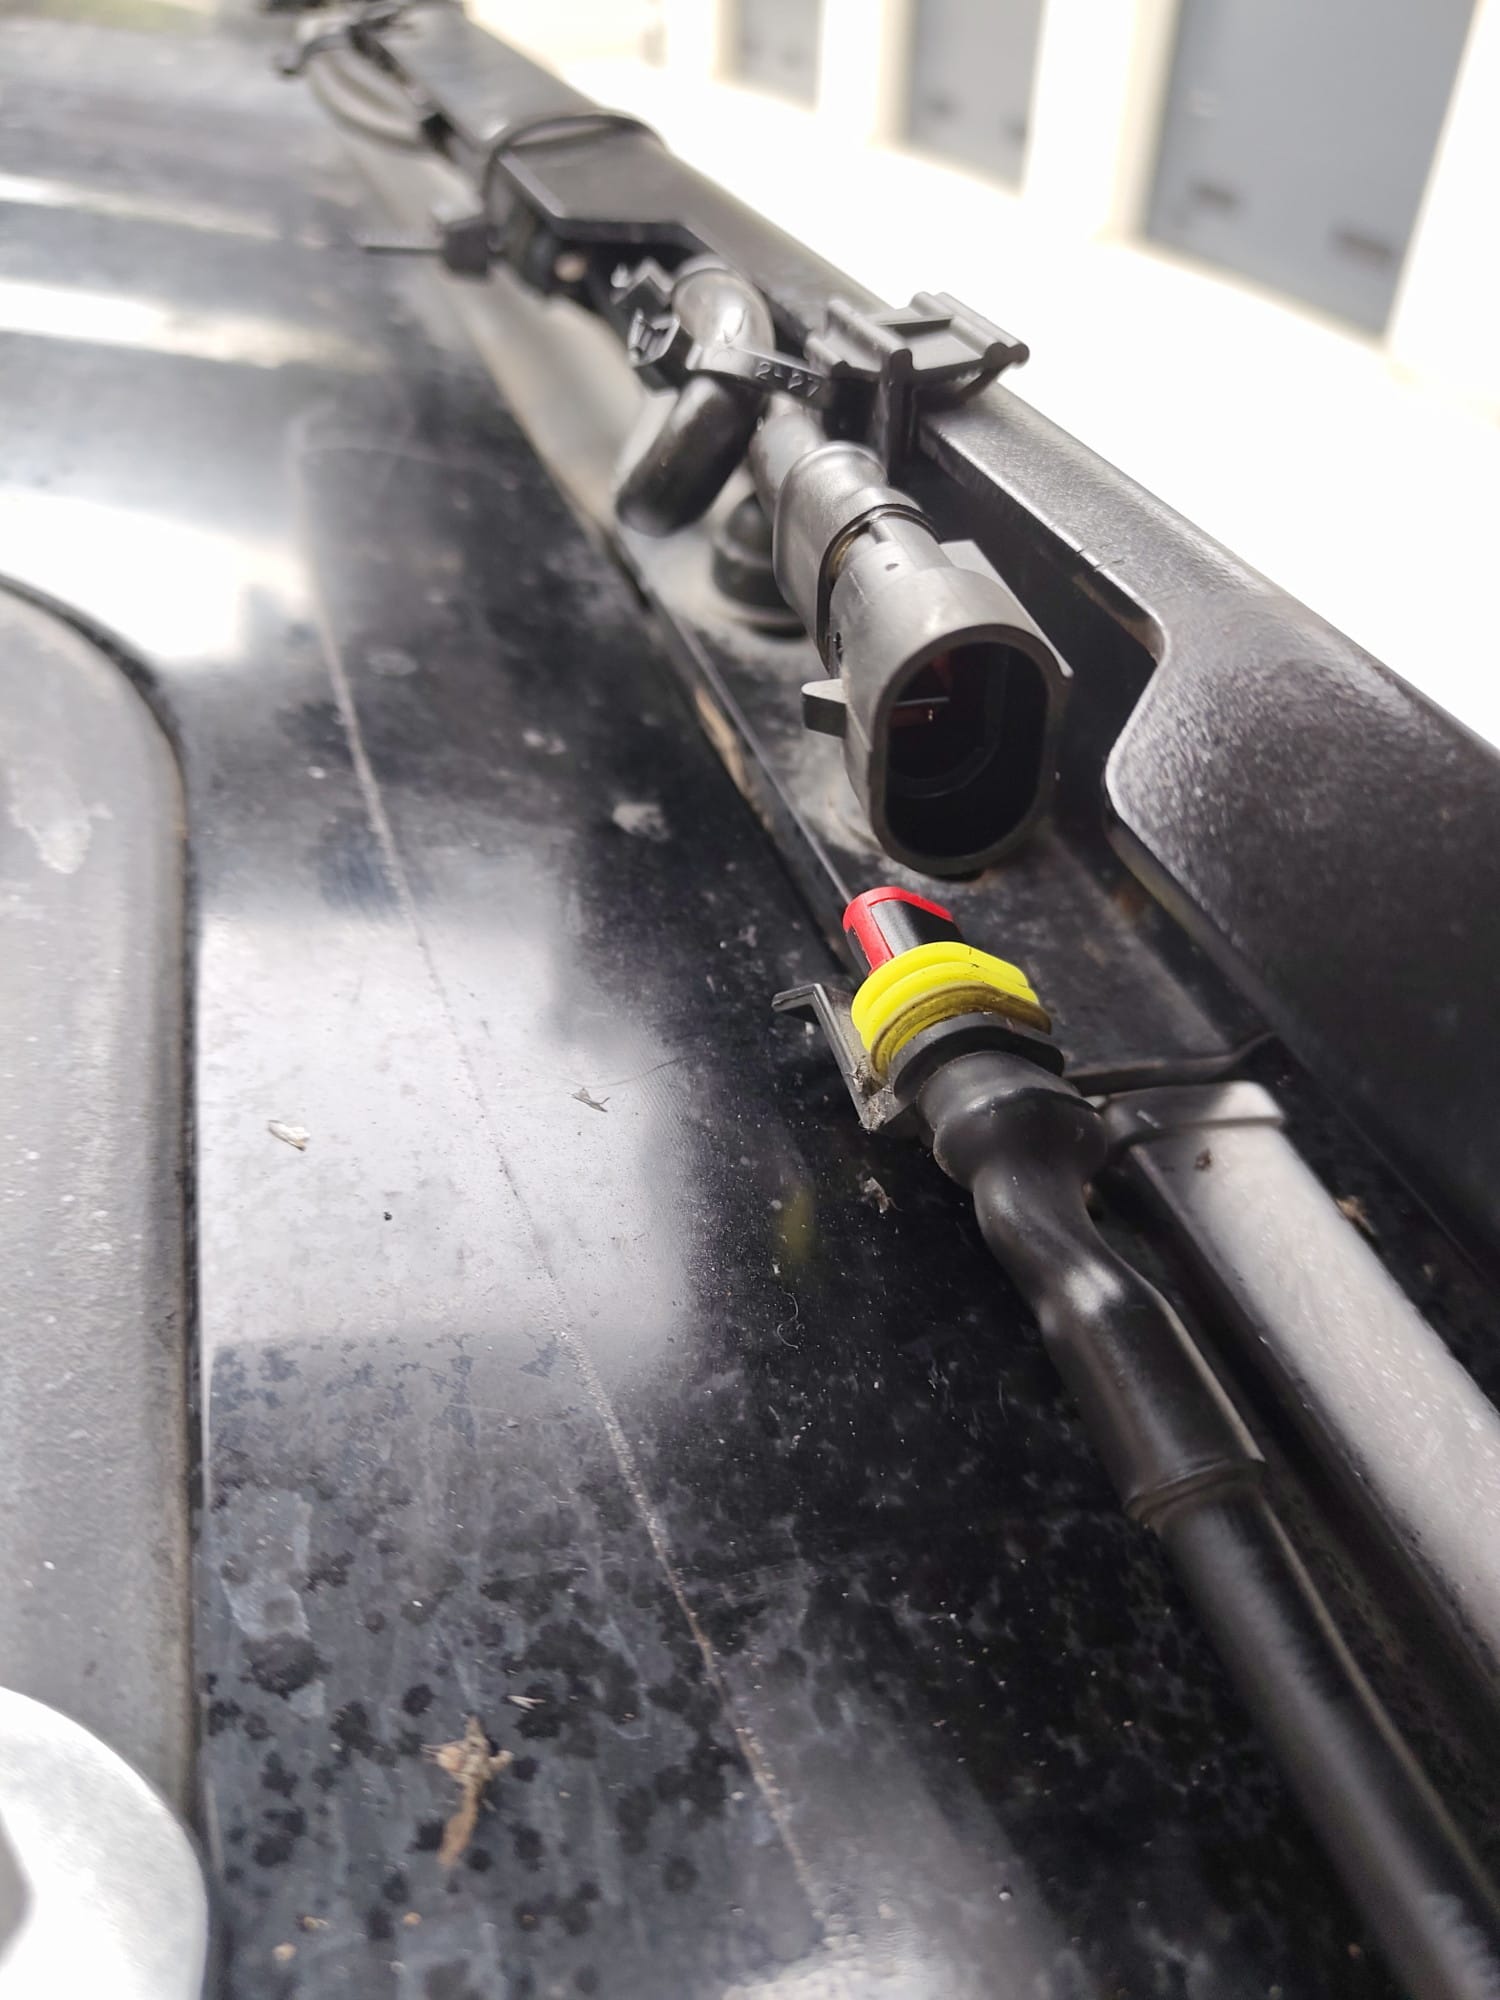
The LED light bar had to be disconnected. Waterproof Superseal connectors were used here.
After that, I removed the corners. New corners were also included in the delivery. They're now made of plastic. The old ones were still made of aluminum. Here you can also clearly see the T-slot gasket, which I use to seal the T-slot. I describe which gasket I use here:
 Sebastian Weiß
The front part of the rack looks particularly bad after just two years. Both filiform corrosion and contact corrosion are visible. You can read more about why I had to replace the rack and what kind of corrosion is the problem here.
 Sebastian Weiß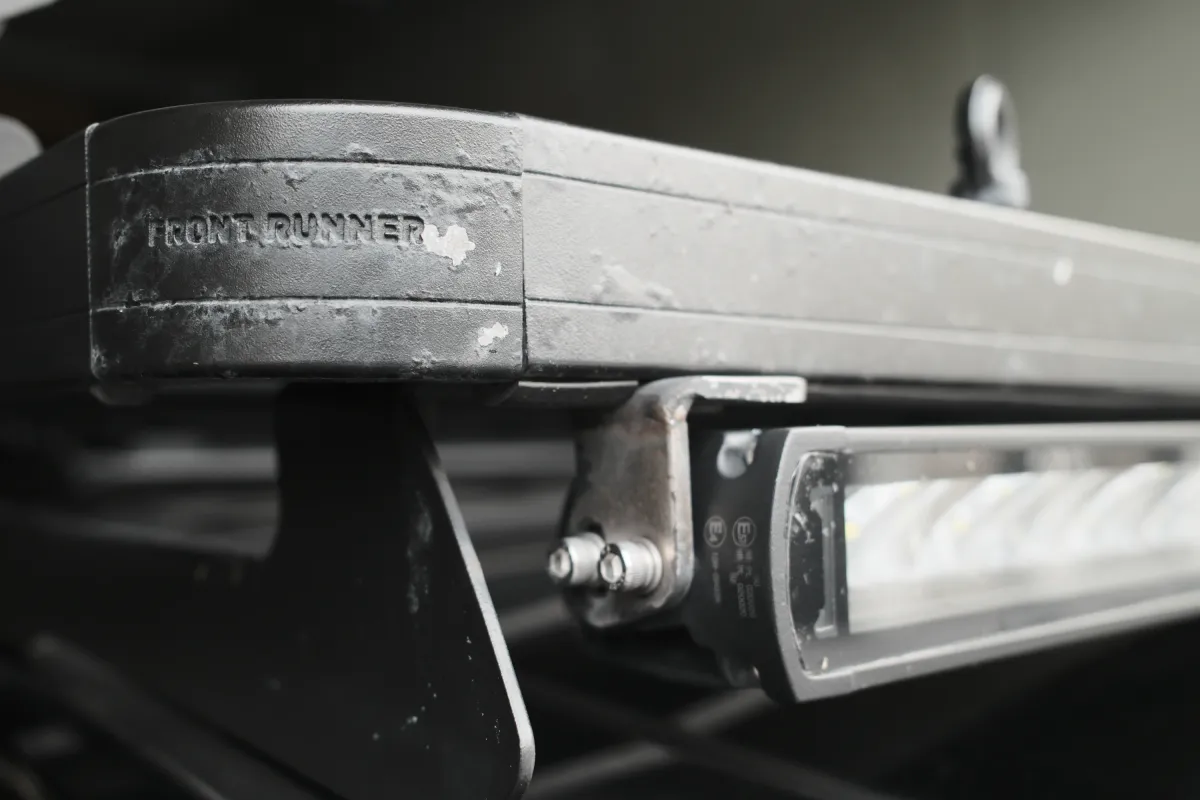
The press-fit nuts are heavily rusted, but this is contact corrosion caused by the exchange of electrical charges between two different metals. The rack is made of aluminum, and the press-fit nuts are made of an alloy.
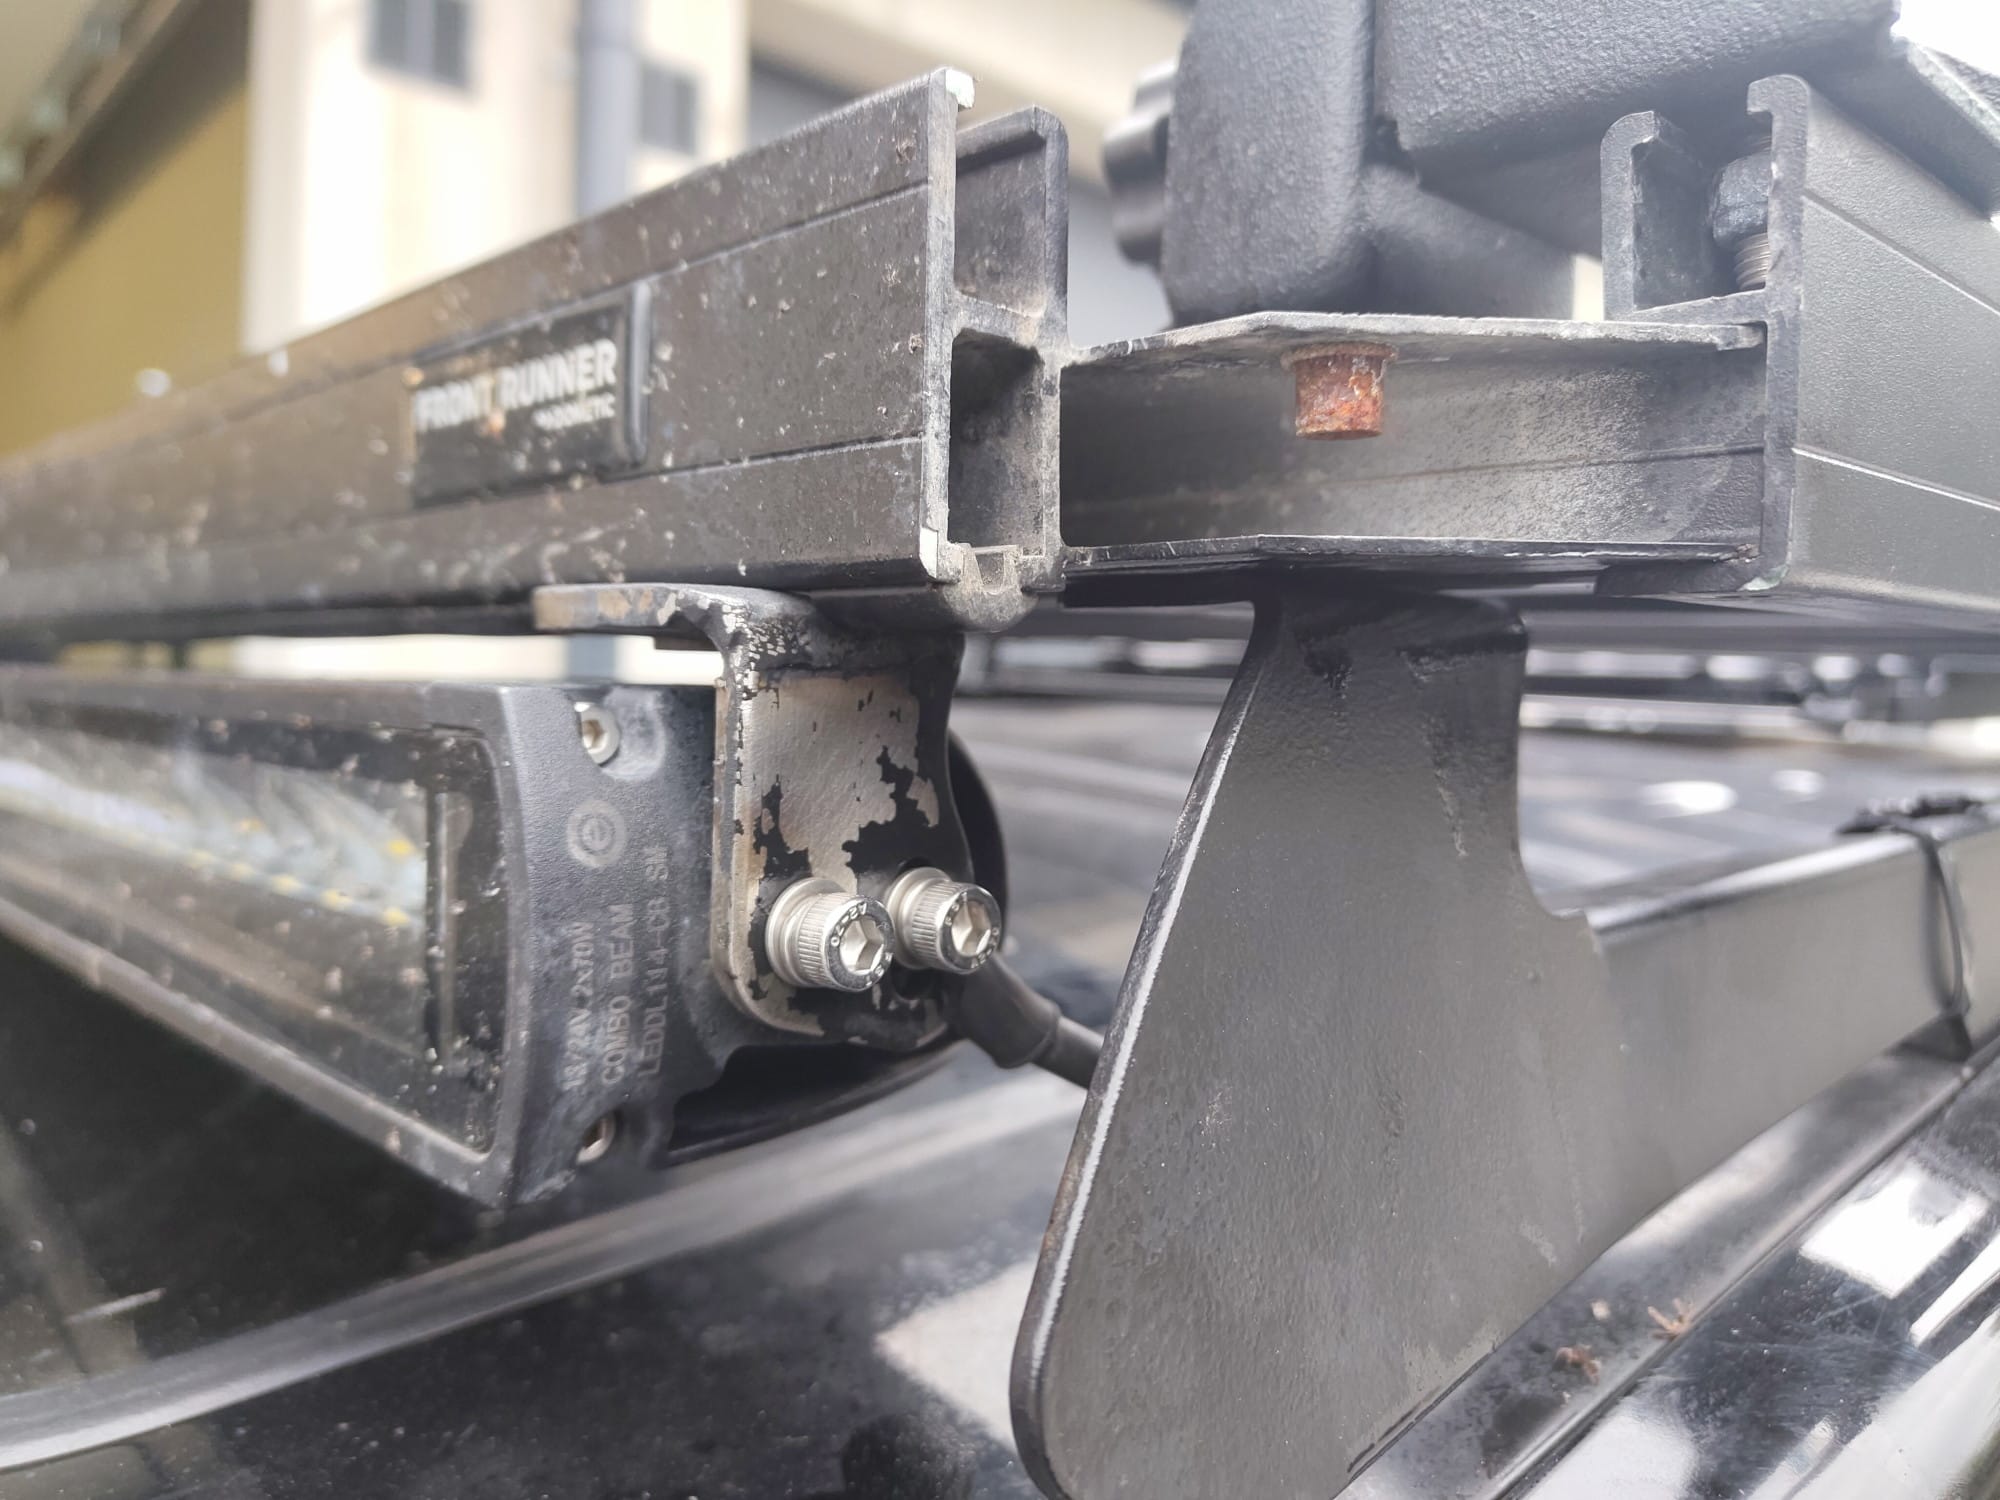
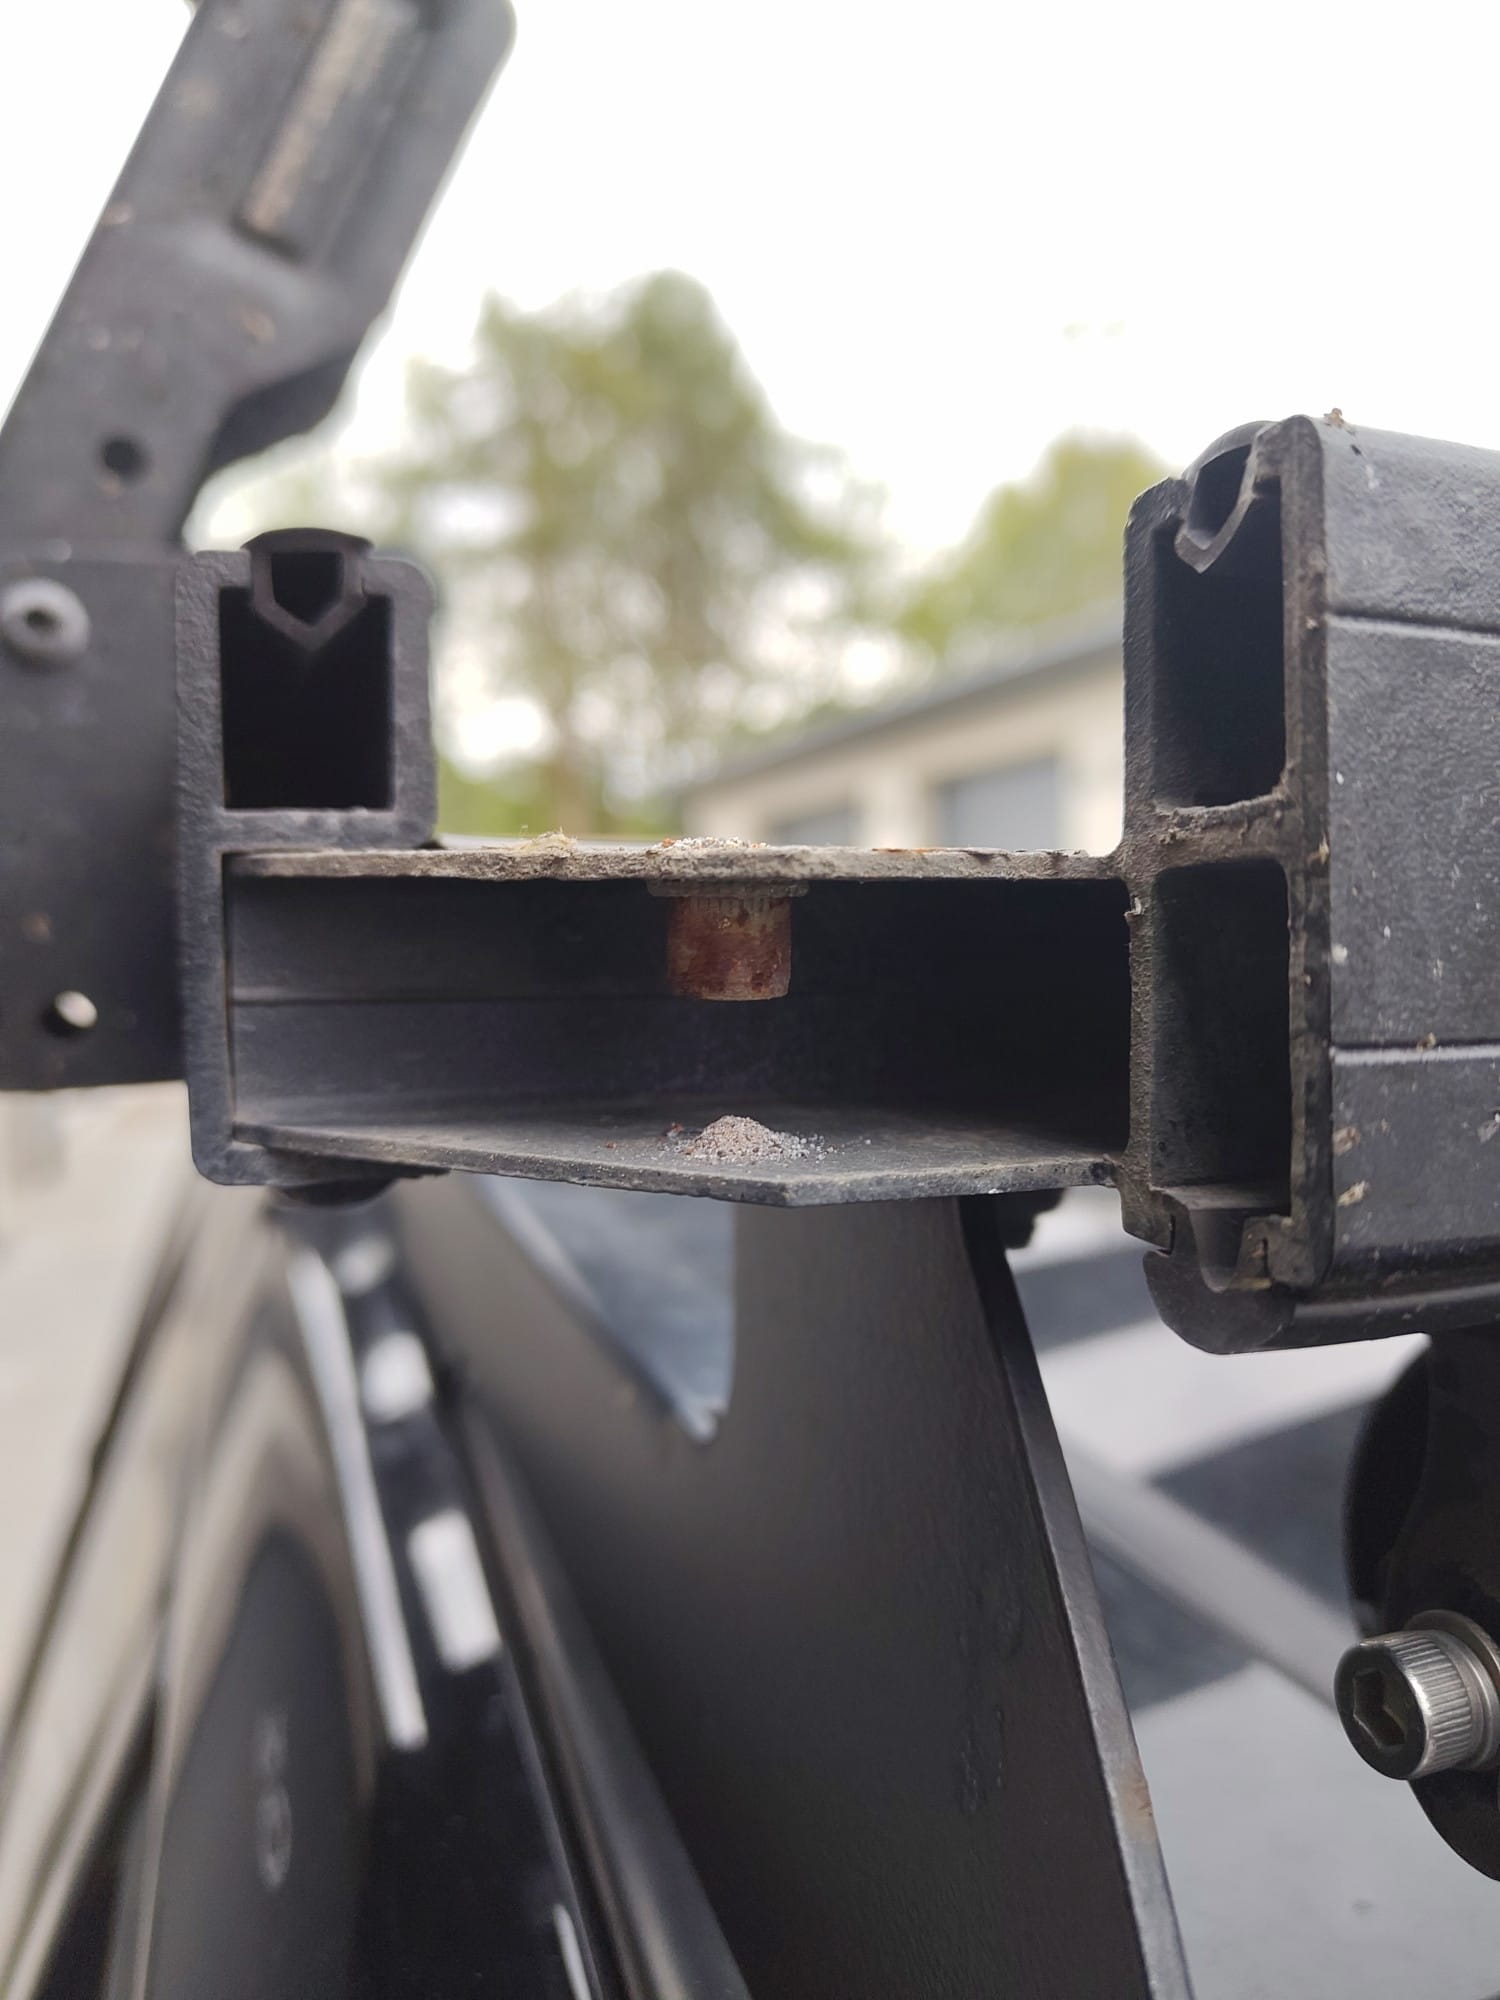
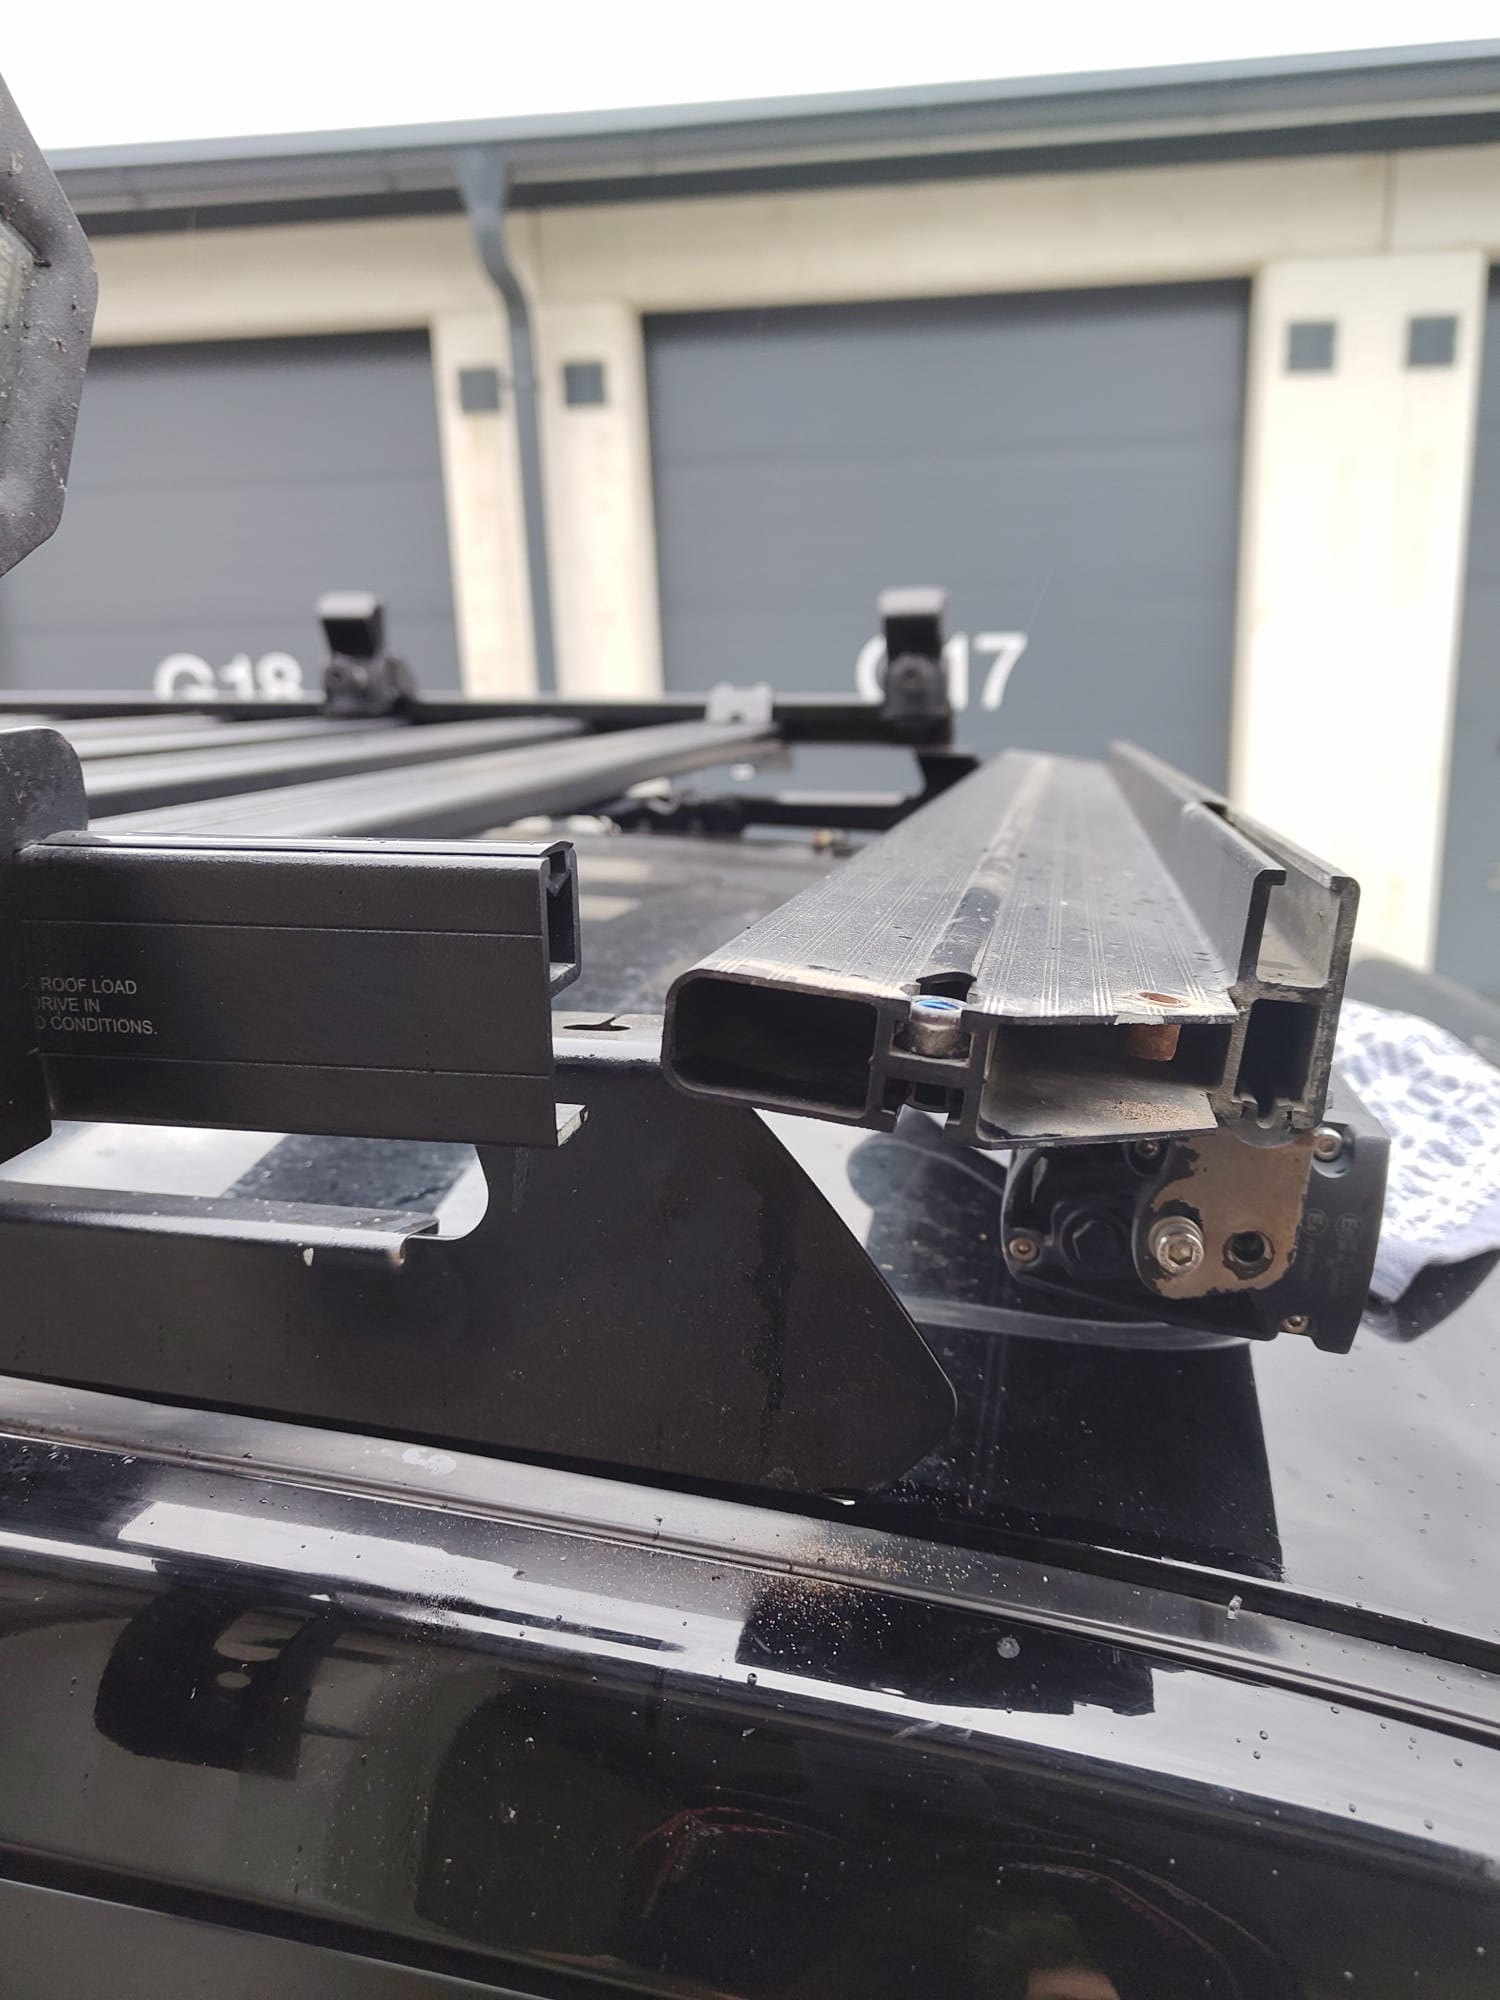
I didn't have to remove the entire rack; I simply loosened the front screws on the mounts, which allowed me to lift the rack and remove the front crossbar from the hole using the screws.
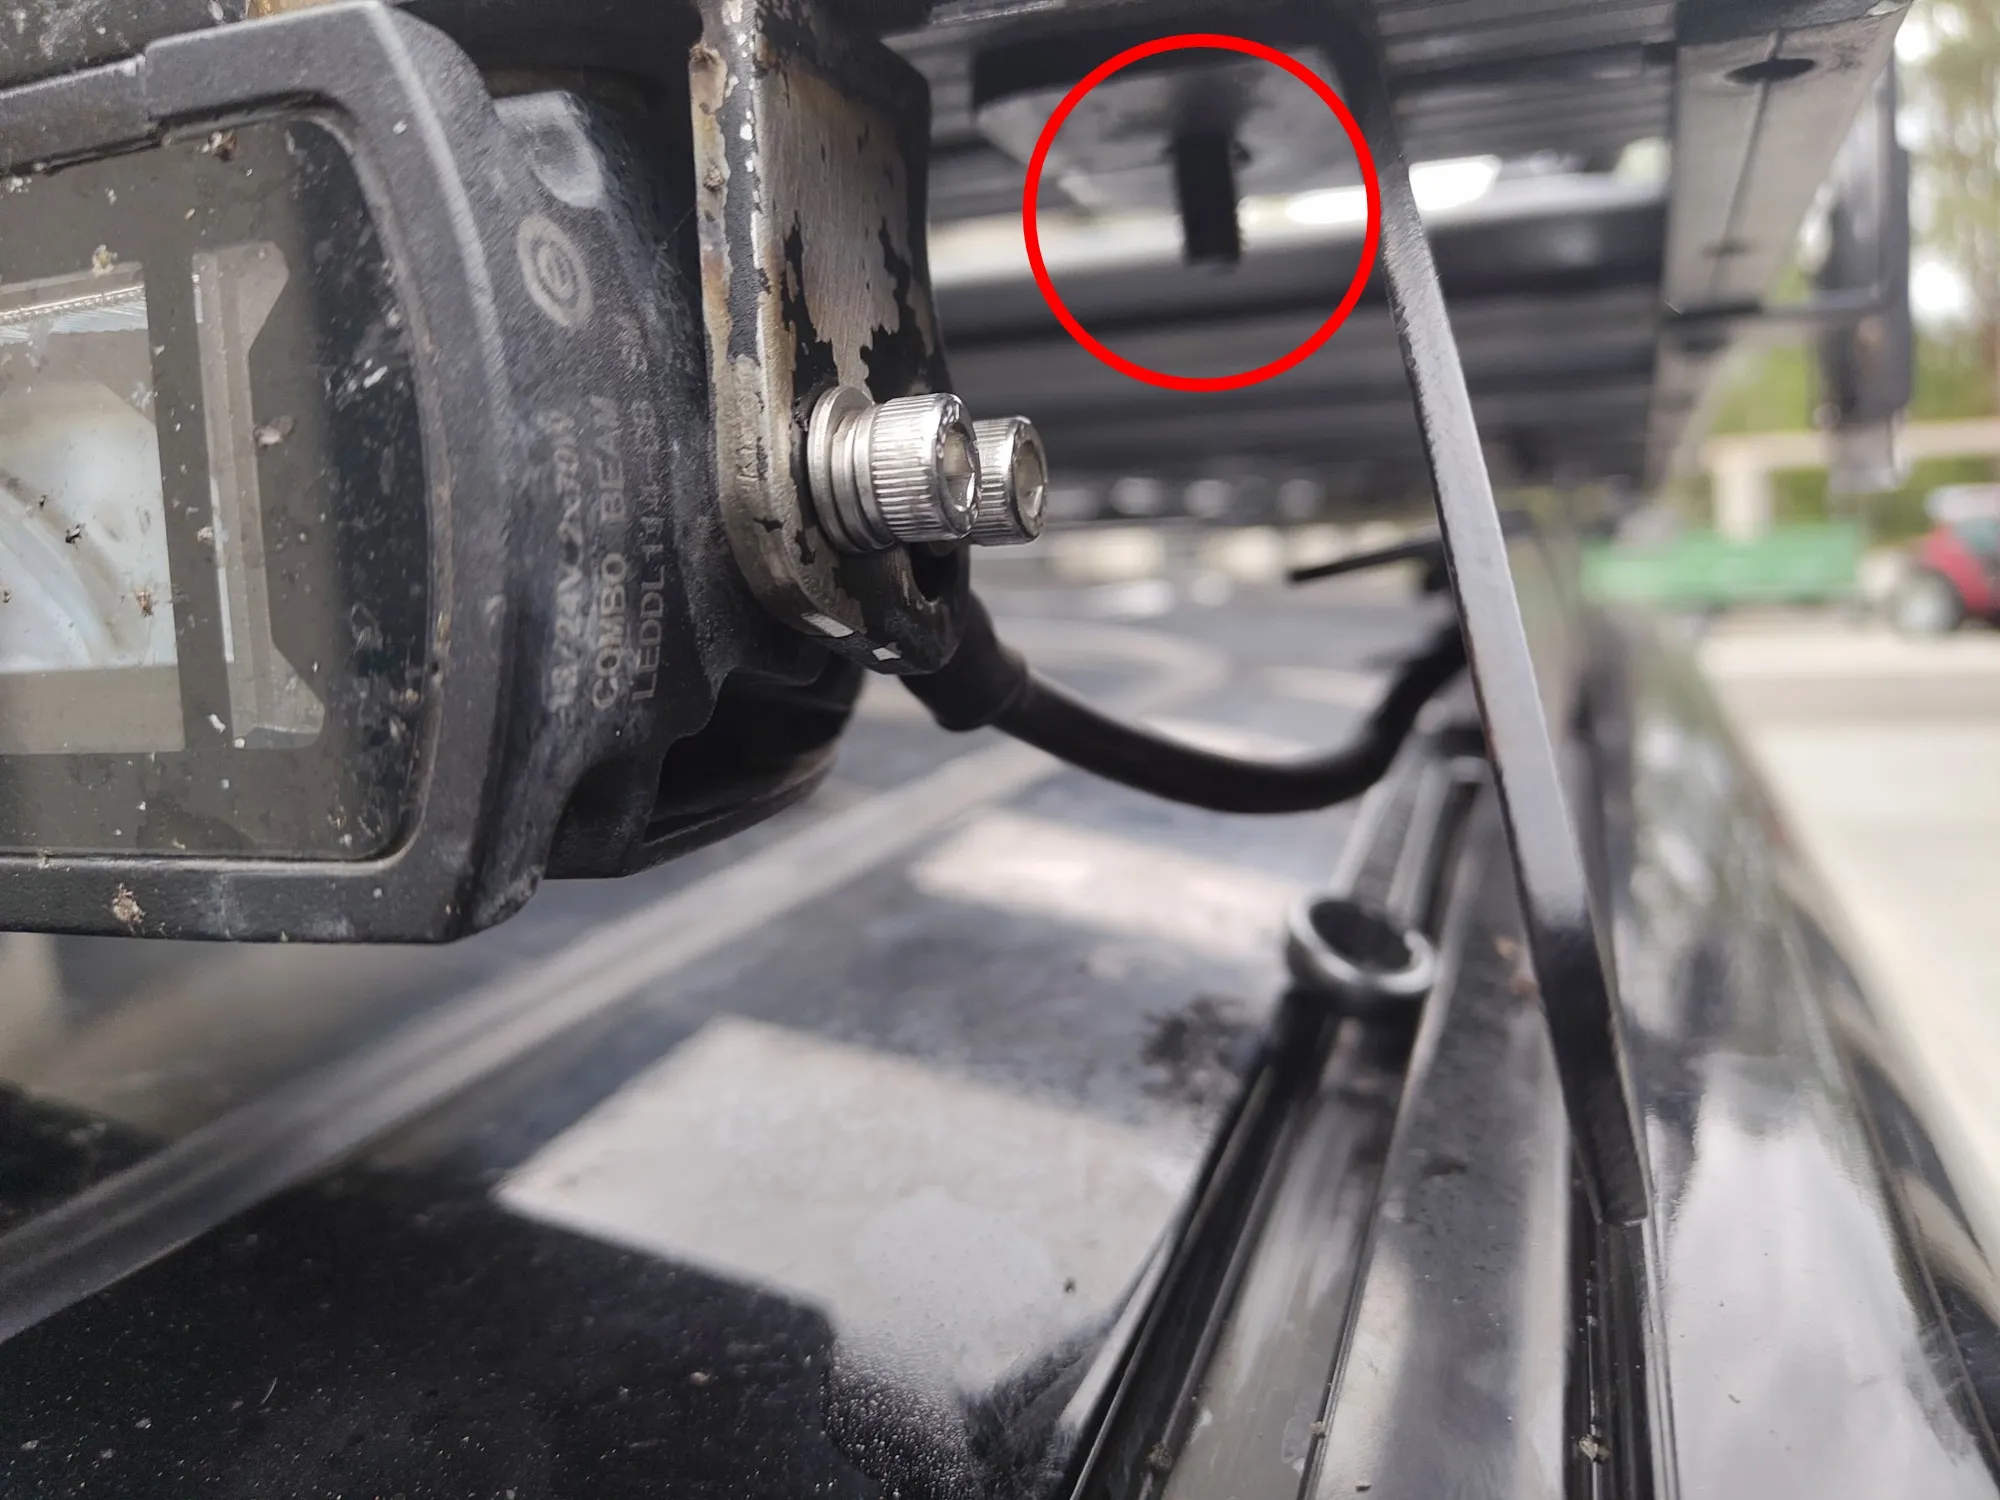
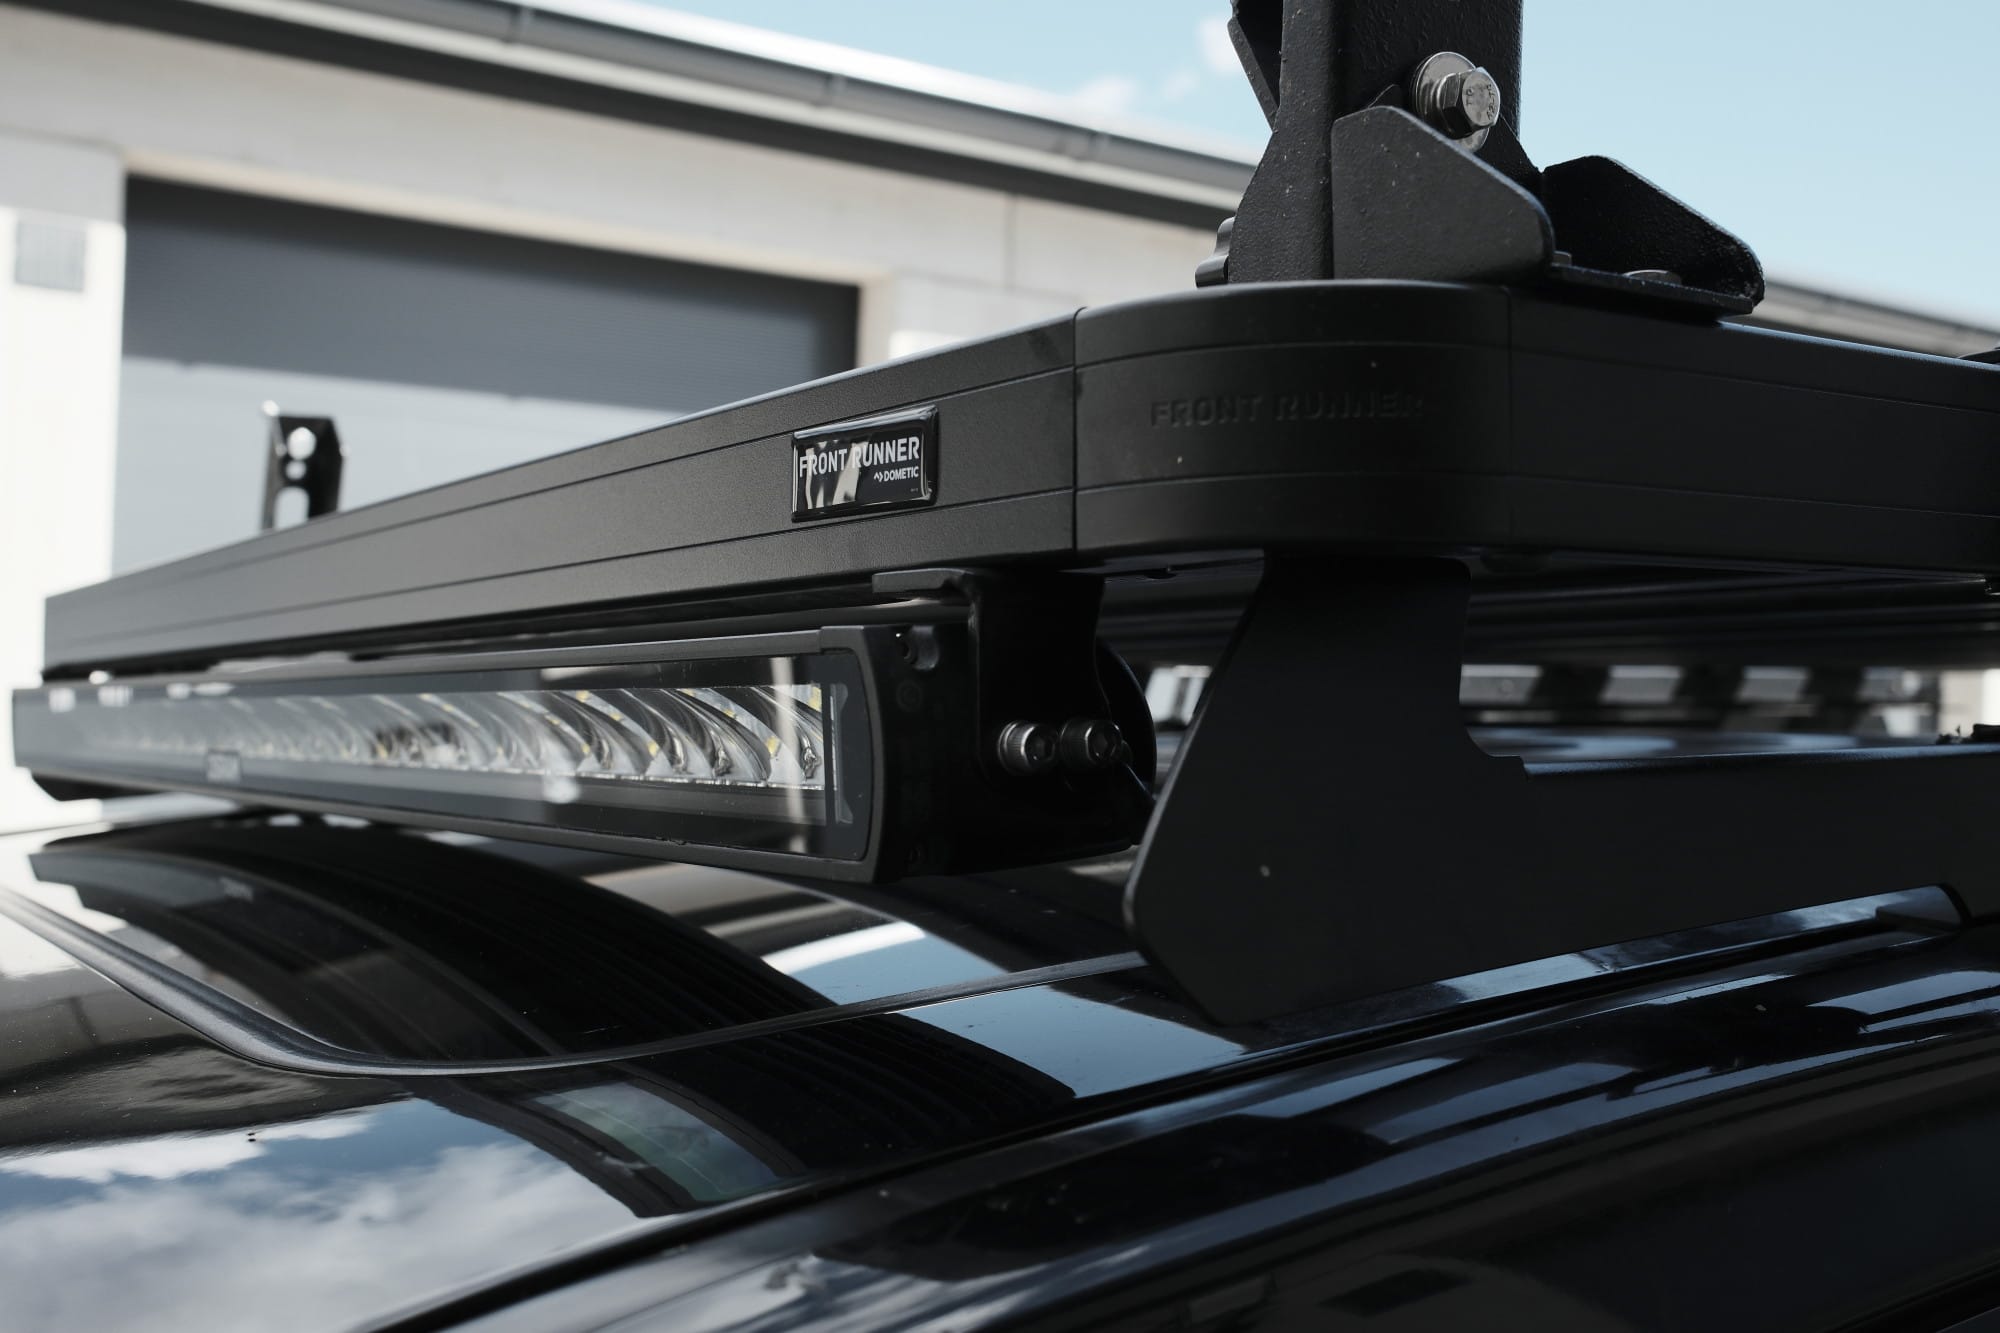
The result is that I took the opportunity to sand down the stainless steel brackets on the LED light bar and repaint them. The front cross member, including the LED light bar, has now been detached.
Painting and Assembly
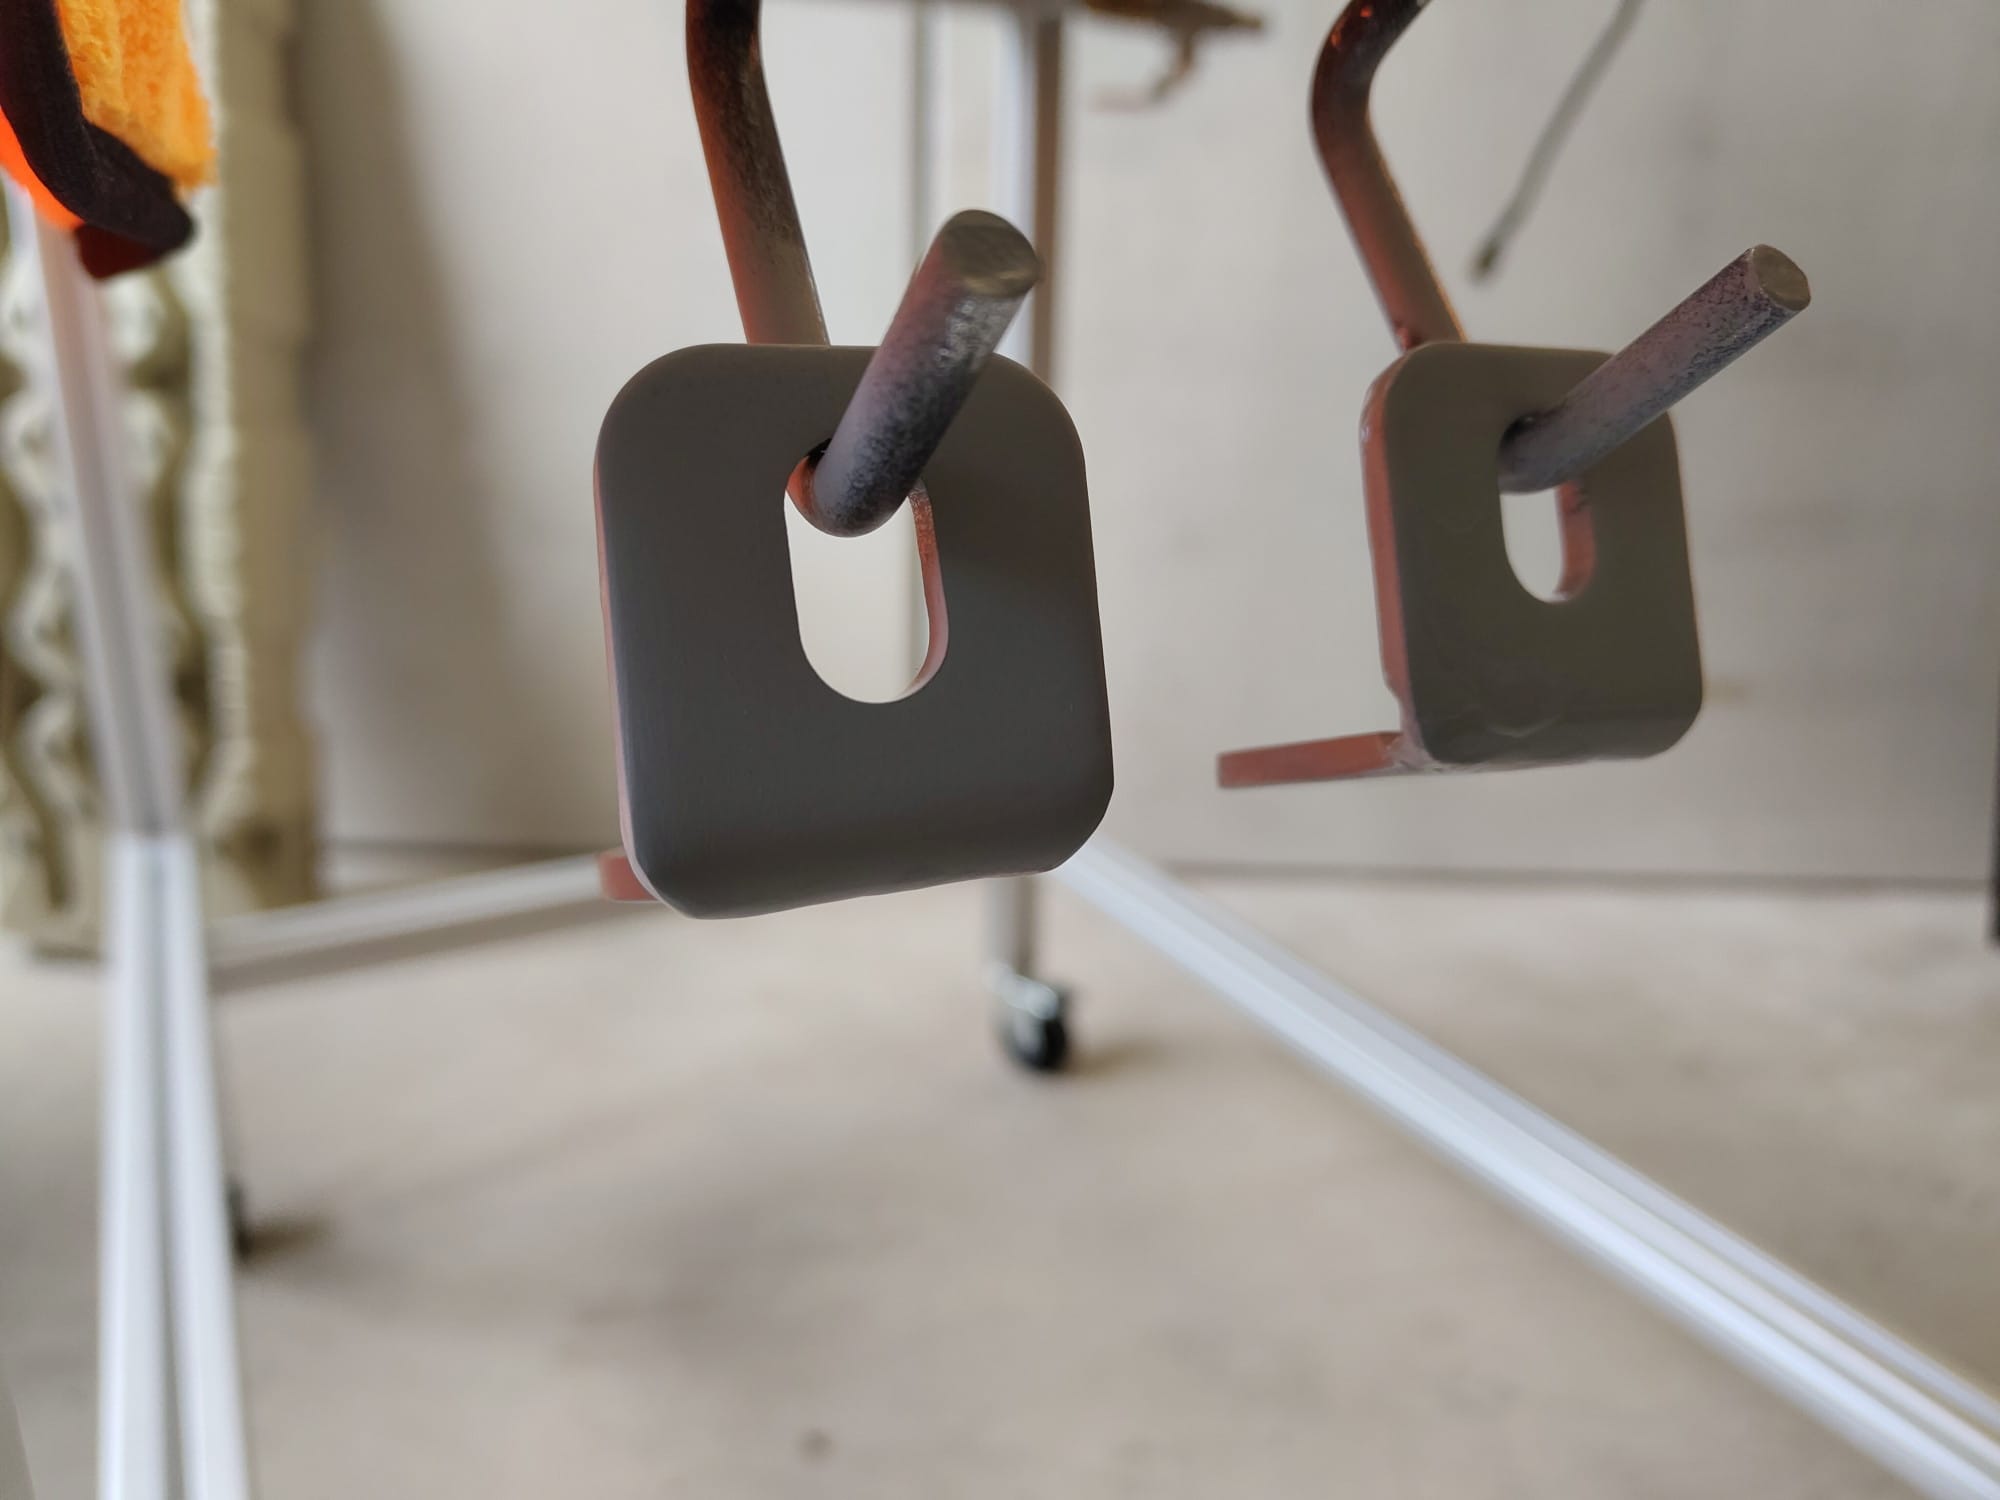
Since the old paint didn't hold (no primer), I pretreated the brackets with an epoxy primer and then sprayed them with black paint.
The Final Result
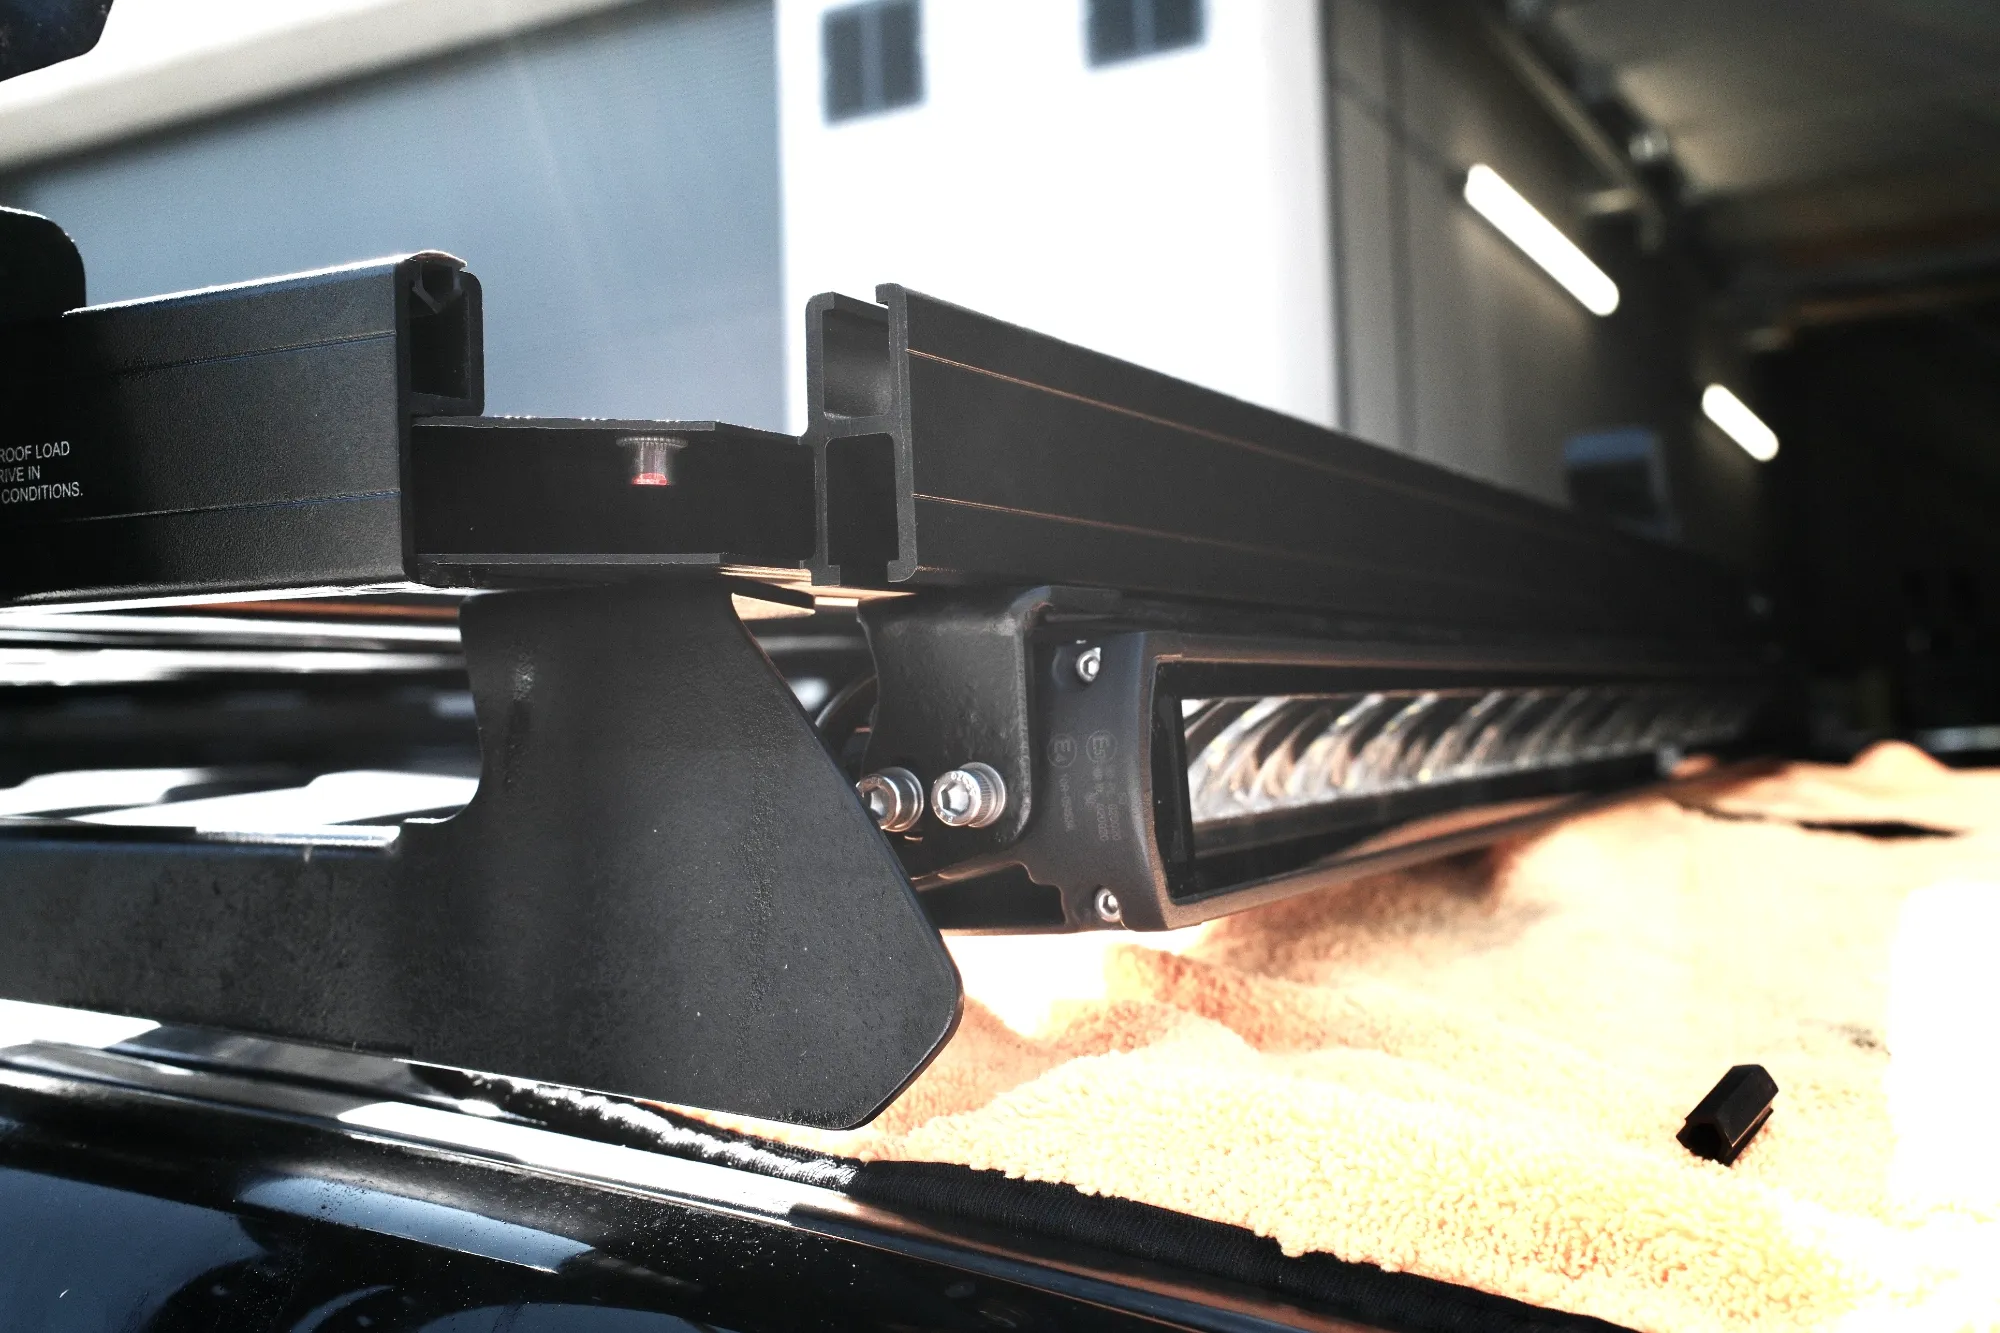
The result is quite impressive. Here's another view of the fully assembled rack with its new front crossbar.
Conclusion
Now that I’ve replaced the front crossbar, my rack looks good again.
Still, some areas of the rack will continue to corrode. In places where there are sharp edges and curves in the sheet metal—that’s where the coating is particularly thin and under stress.
There are also those contact points where two different metals meet, and that’s where galvanic corrosion will continue to take its toll. These include, for example, the mounting points for accessories. You can see it clearly on the screws there—they start to corrode quickly.
I’m curious to hear about your experiences. I’d love to hear from you about where you use your racks and how much wear and tear they’re subjected to!
Feel free to share your thoughts in the comments!
I hope you enjoyed this post. Feel free to share your thoughts in the comments, and if you're interested in this or other topics, please sign up for our free newsletter.
That way, you'll receive the latest posts directly in your inbox, so you'll never miss a new article.